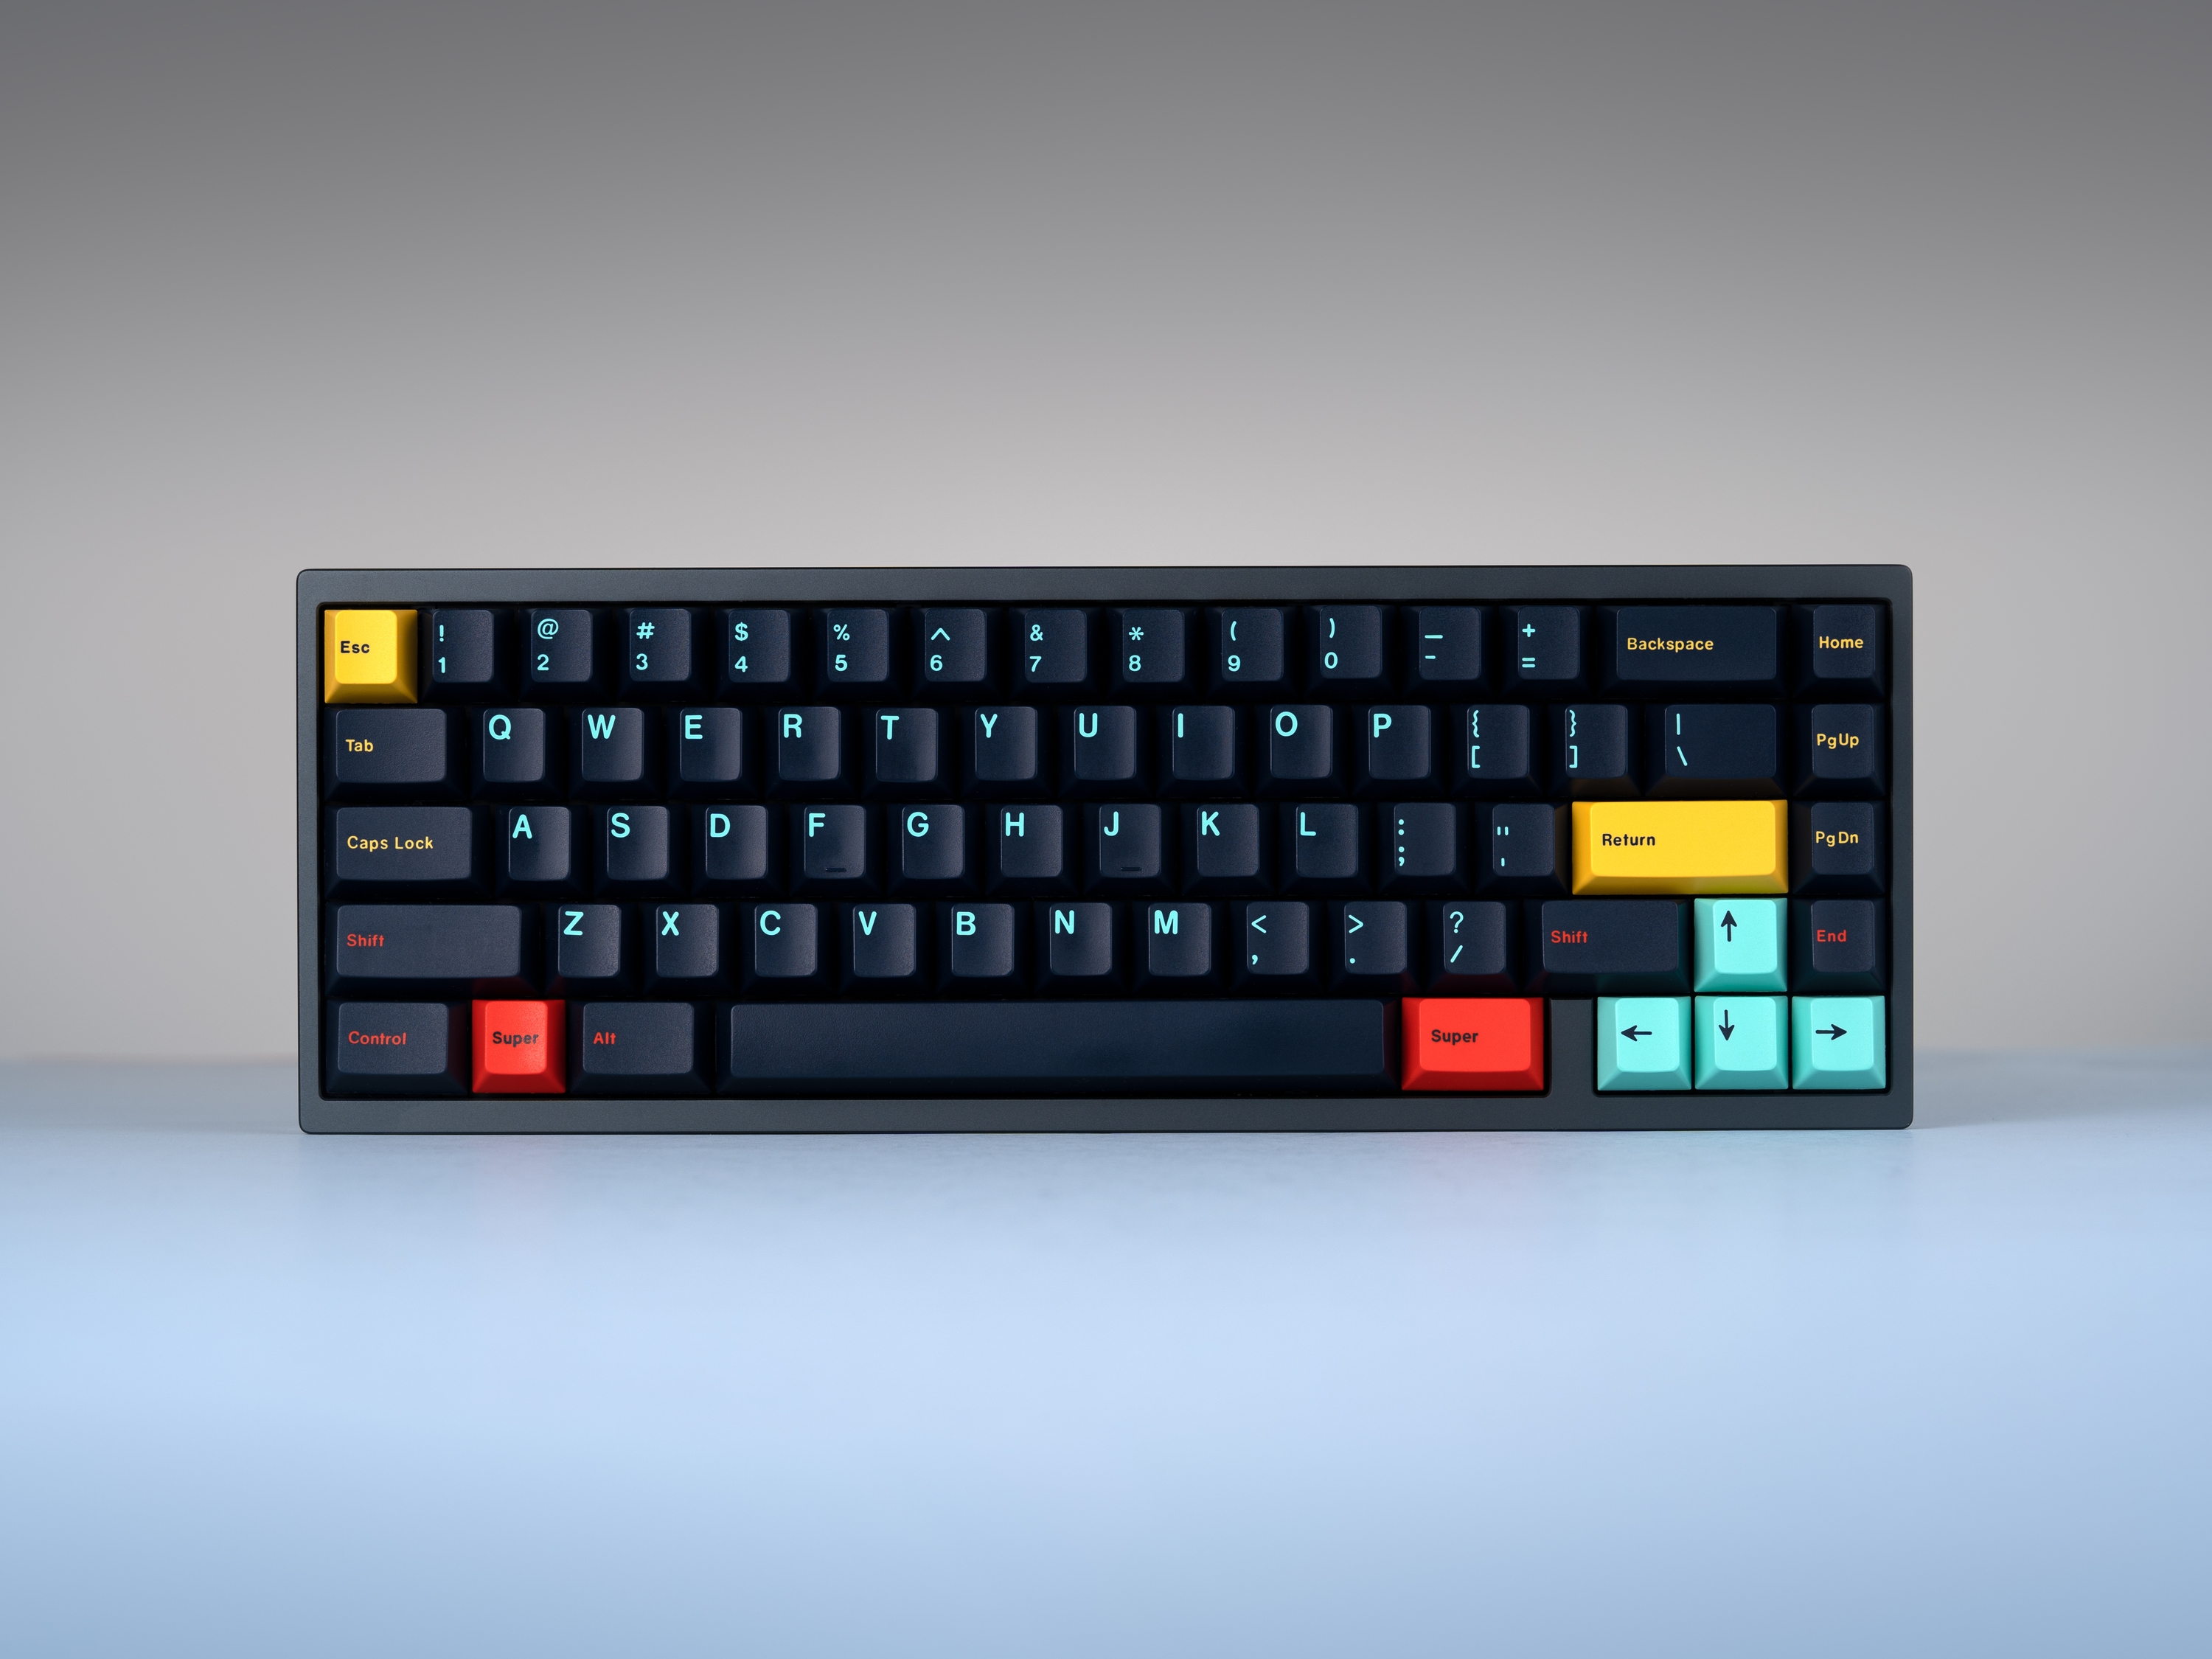
Since starting my product photography Instagram page, Oziii Obsessions, I am regularly asked by followers what camera and other photography gear I use to photograph my boards.
So today I thought I'd put together a shortlist of the photography gear that I use in the hope that it will help others interested in photographing products. Also note: I'll make a few comments below on other types of photography that I do and show on my main DarrenRowse Instagram account.
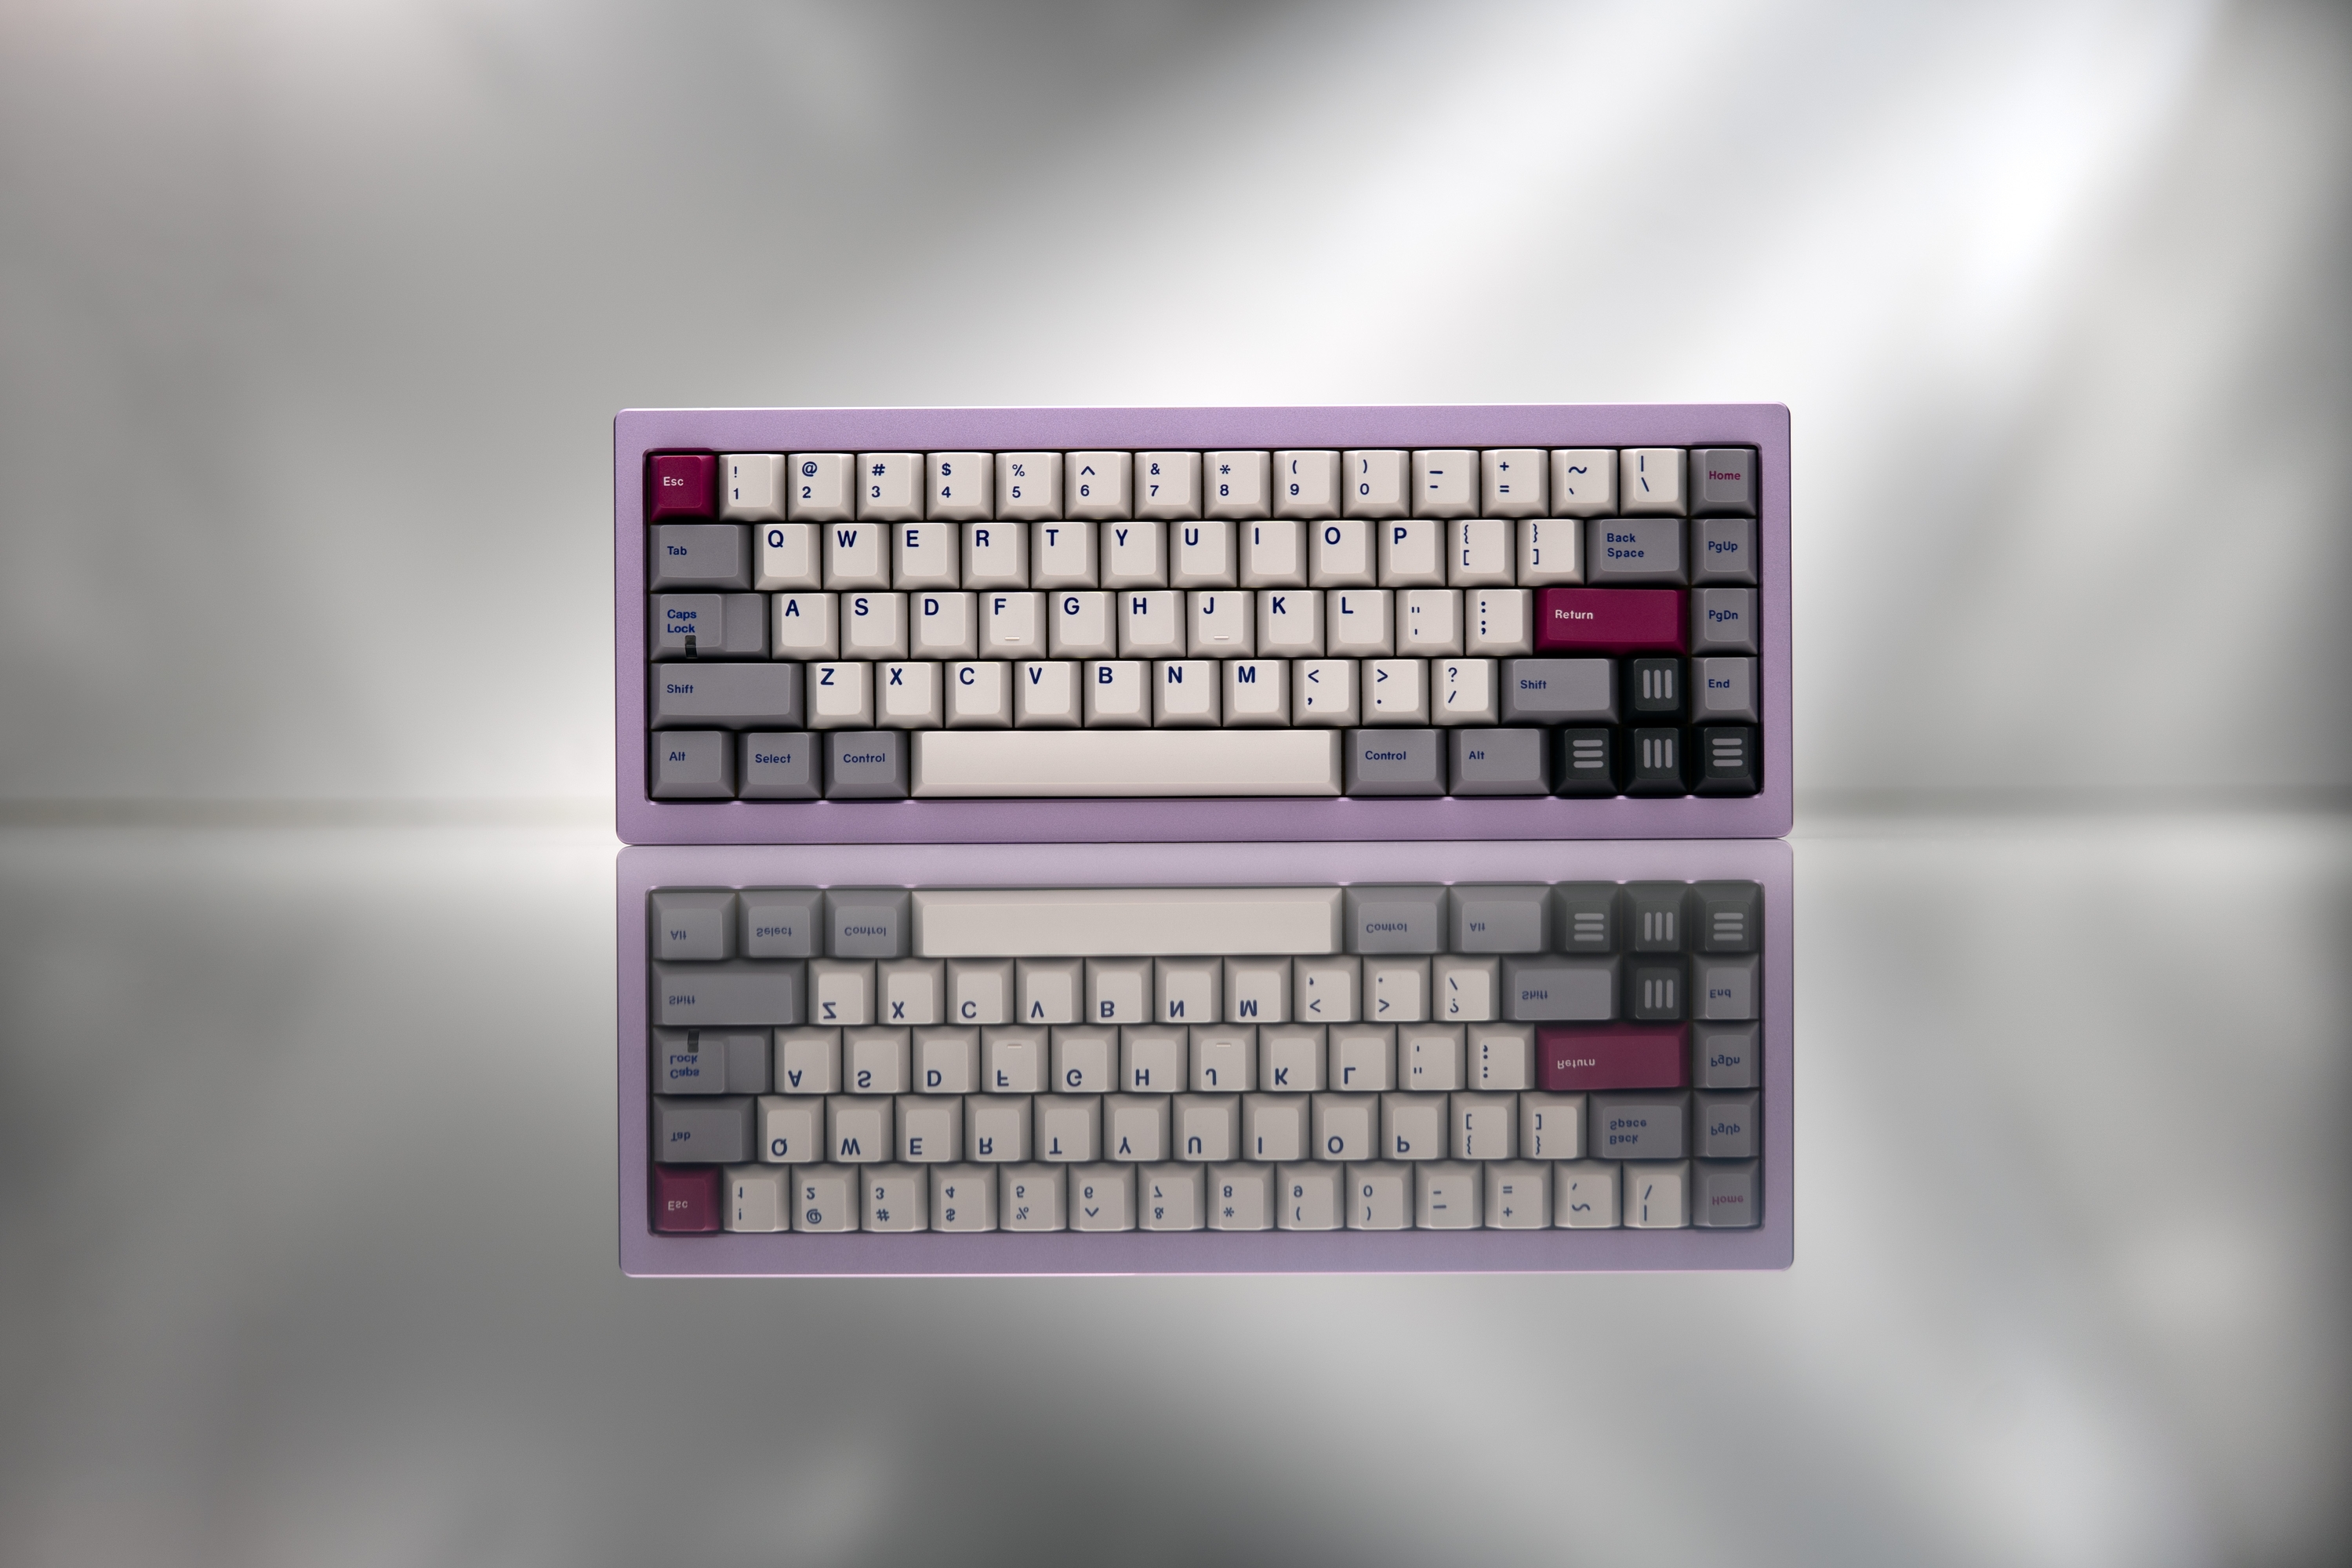
Camera
I primarily use a Sony A7iv camera for most of my photography. It's an amazing camera and is great for both my product photography but also sports, portraits and day to day capturing of family life.
Previously I used the Sony A7iii camera for several years. In fact, most of the shots on my Instagram are from using it. You'd be hard-pressed to tell the difference from the shots themselves but I upgraded mainly to get a little extra resolution which is handy in my sports photography as it lets me crop in a bit more.
Either camera (and all of the other Sony Alpha cameras are fantastic) and I'd highly recommend them. In fact, if you have a limited budget I think there's a very good argument to be had for spending less on the body (and going for lesser models) and more on lenses.
The other camera that I use from time to time is a Sony A6600 which is a more affordable option if you don't need a full-frame camera. I mainly use it for video/live streaming - although my son is now using it for a lot of photography too.
Lenses
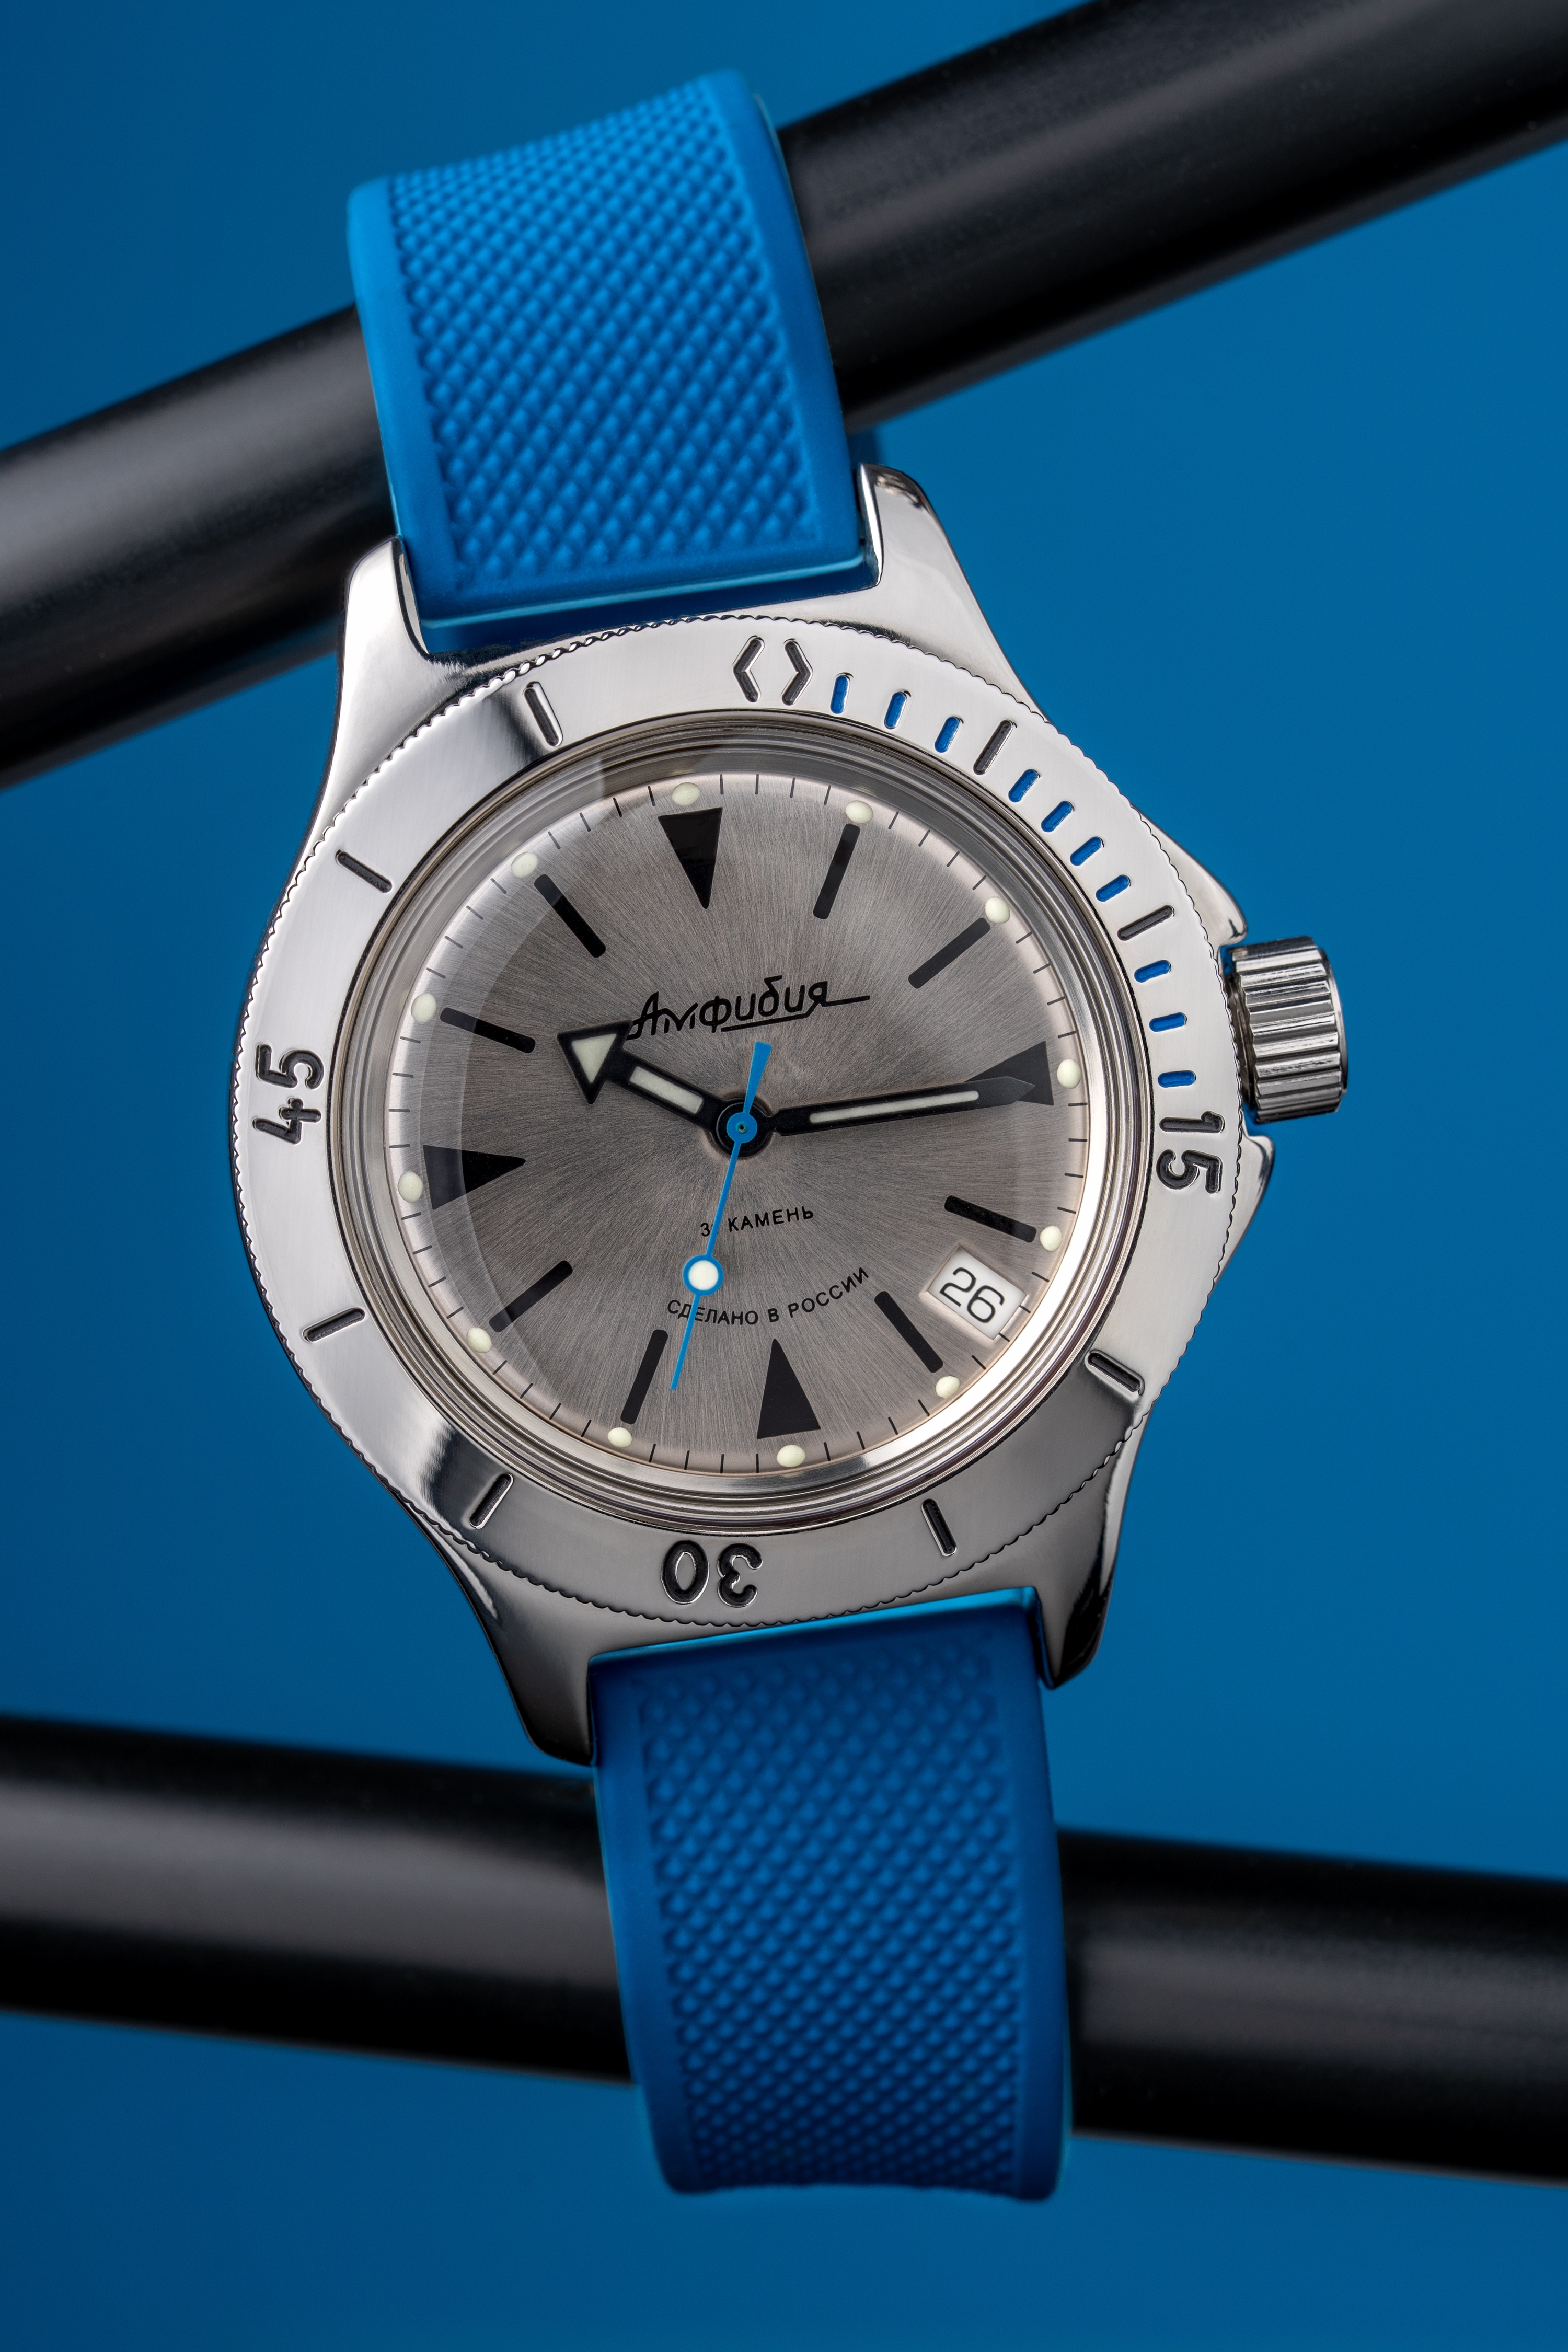
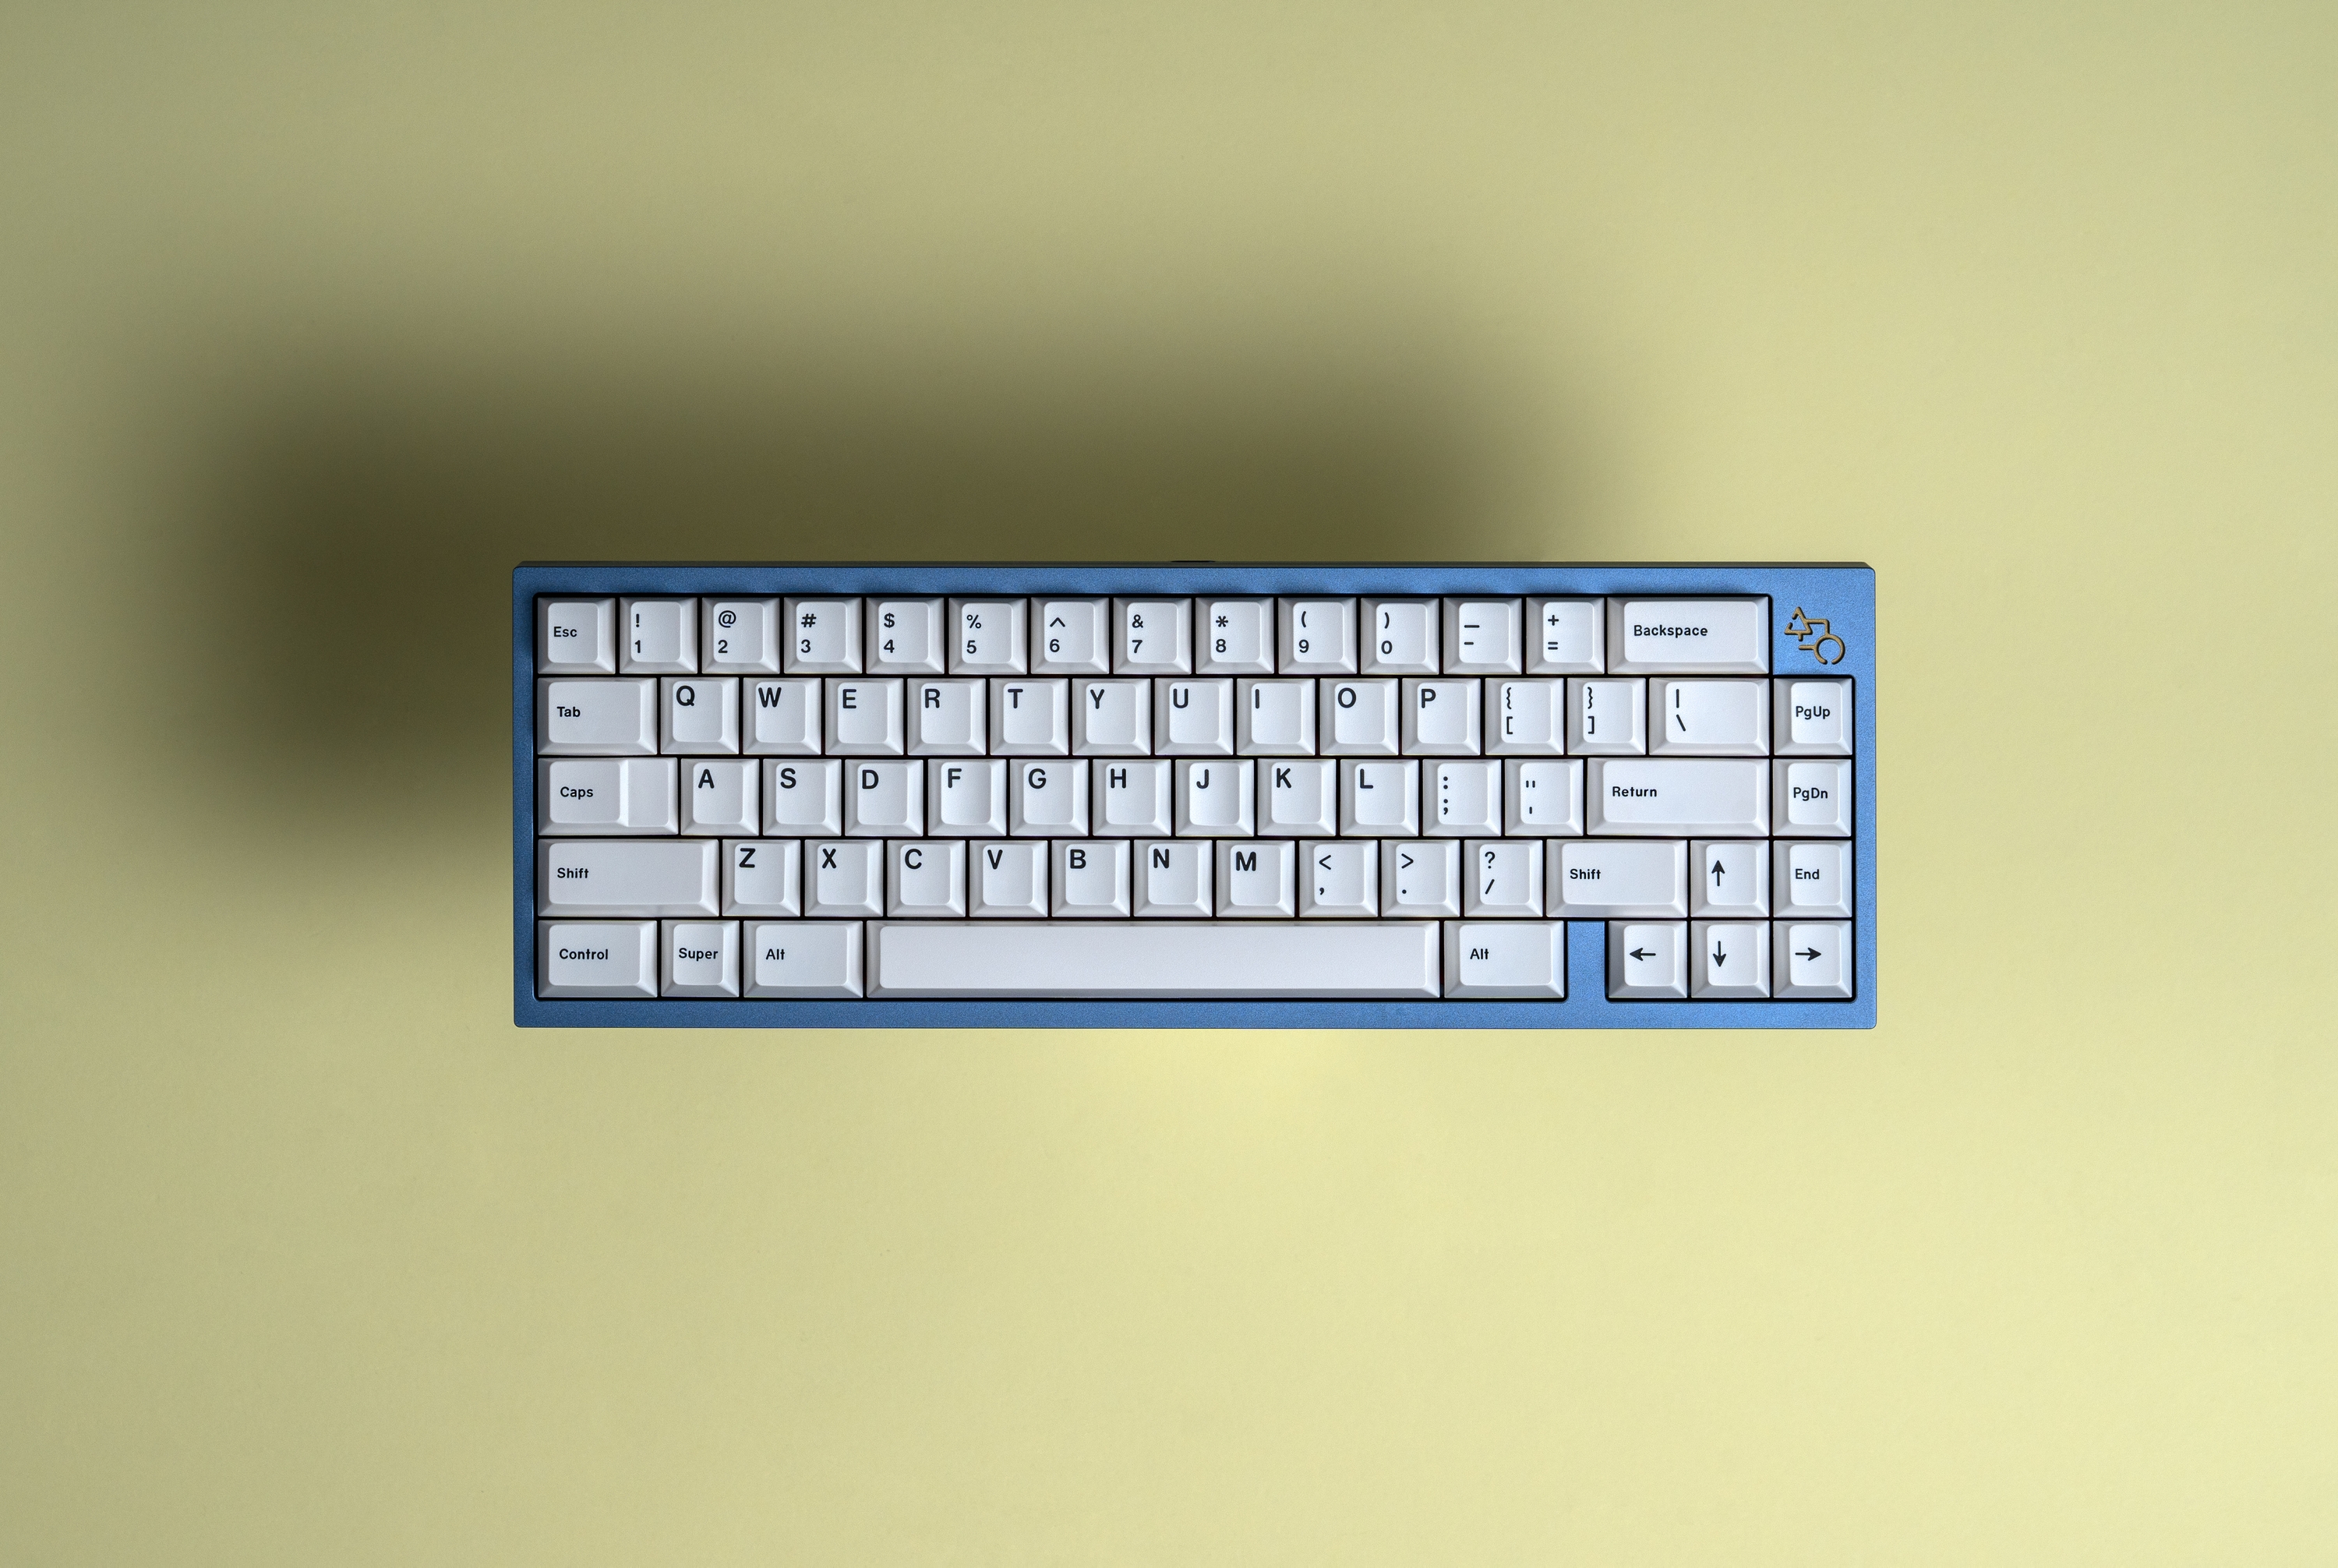
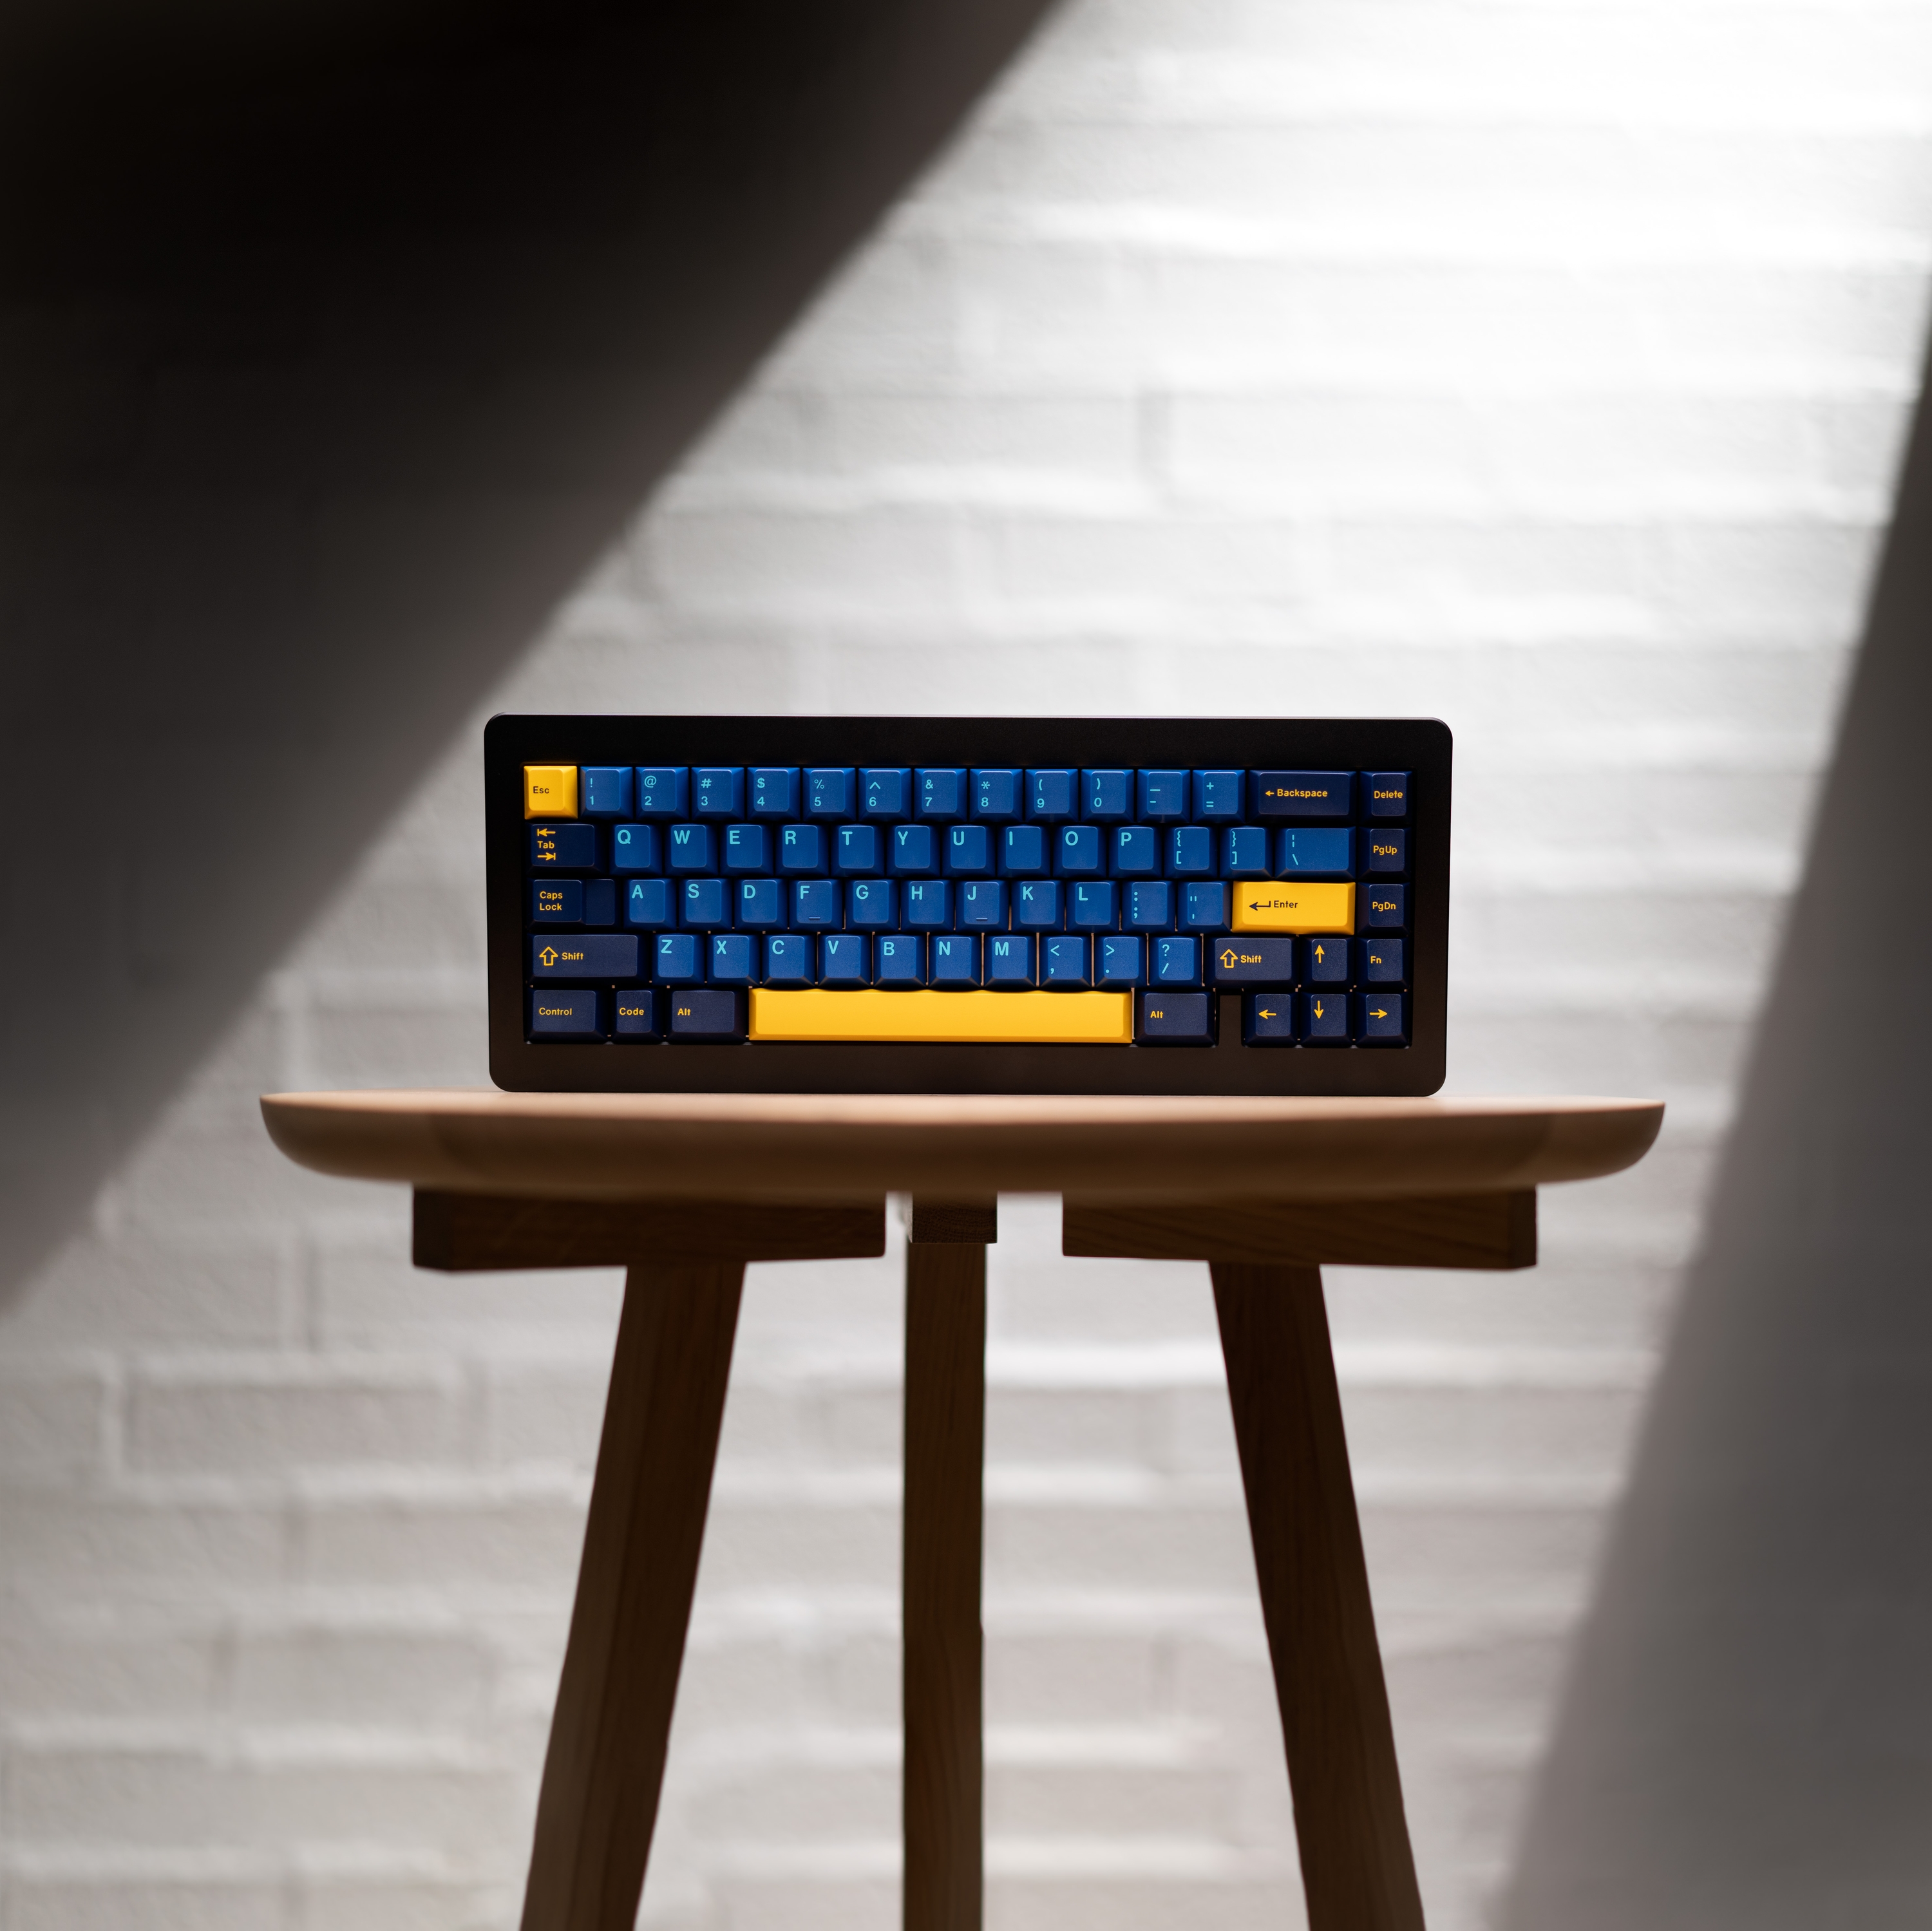
My most used lens for product photography these days is the Sony 90mm f2.8 Macro lens. While it is a macro lens and allows me to get in very very close to photograph details I don't do a lot of true macro work but use it to photograph a lot of my subjects from further away.
For example, the shot of the 'Haus' keyboard below on the yellow background was shot with this lens.
Interestingly, I've also used this lens quite a bit for portrait photography too. Many photographers love 85mm lenses for portraits so this is quite close to that focal length.
Here's one I shot of my son that I took with this lens.
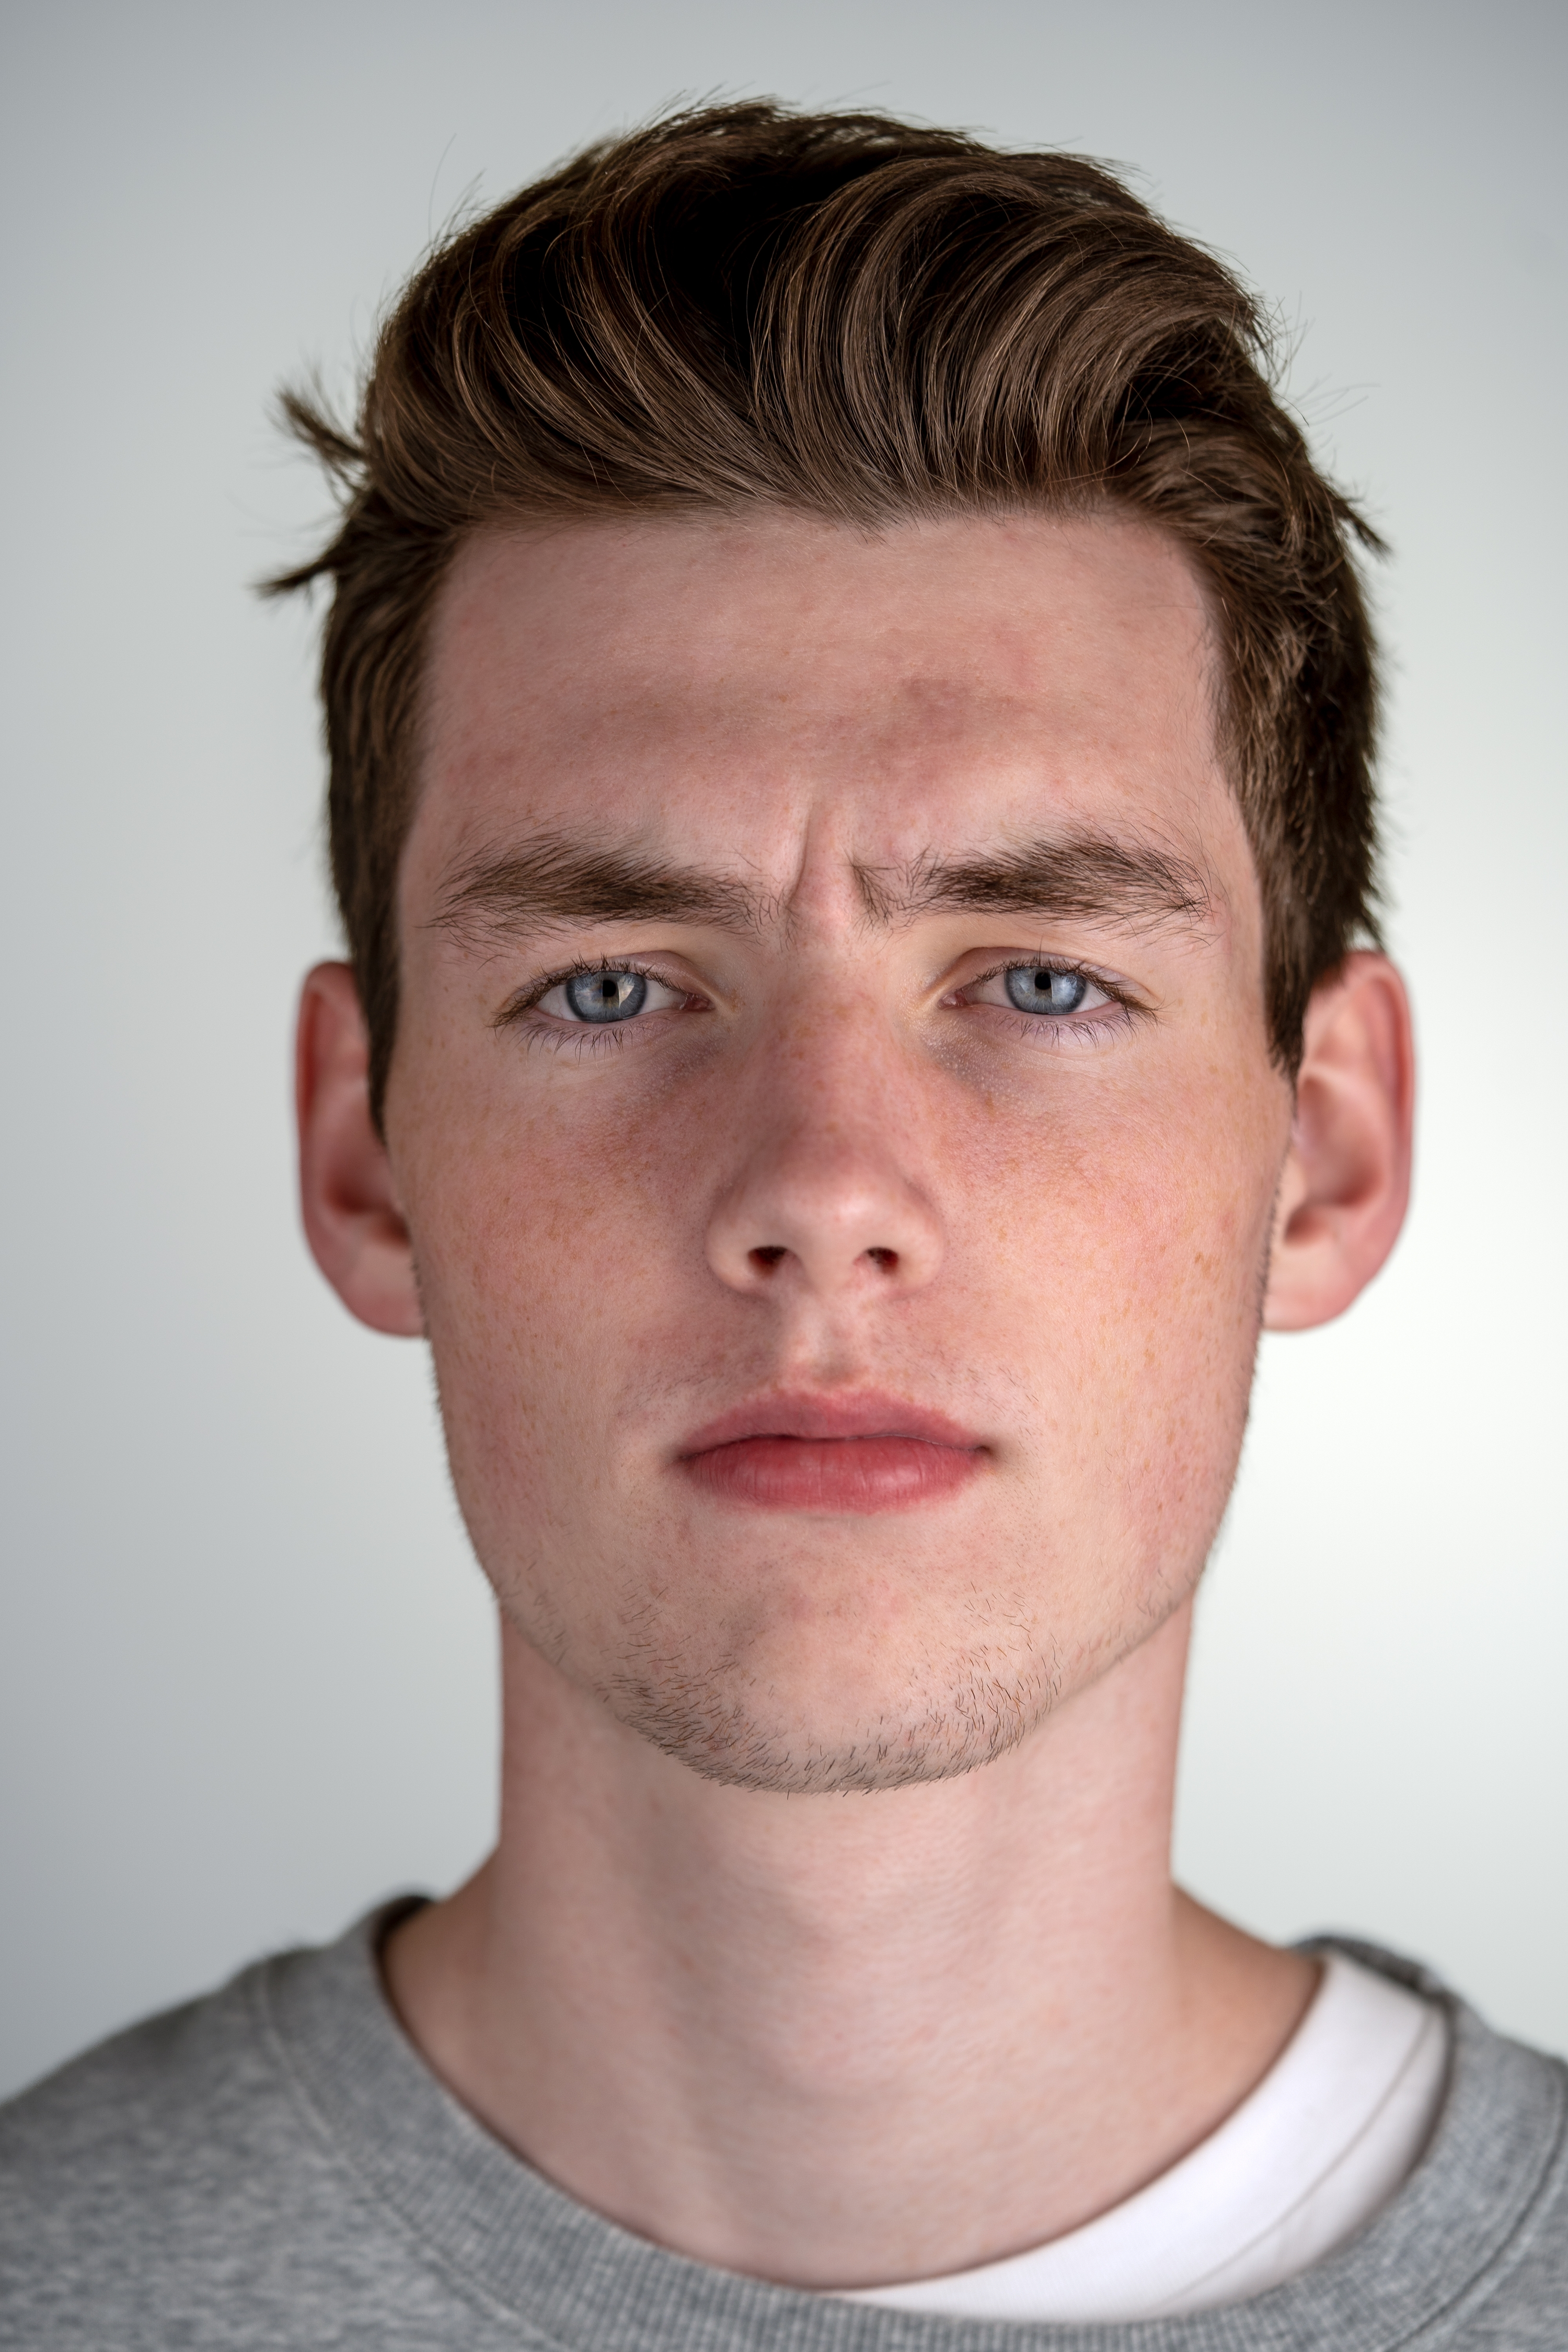
Before I started using the 90mm macro I've also used the Sony 55mm f1.8 lens.
One of the problems with the 90mm macro is that if you're photographing a large subject or are in a tight space you sometimes can't get the camera far enough away from the subject to get it all in the frame. That's where this 55mm lens is really useful as it zooms in enough to be flattering but is wide enough to fit your subject in.
For example, when I'm shooting in my office which isn't a big room I find shooting portraits or product photography is great with this lens.
Here's a product shot that was taken with the 55mm lens.
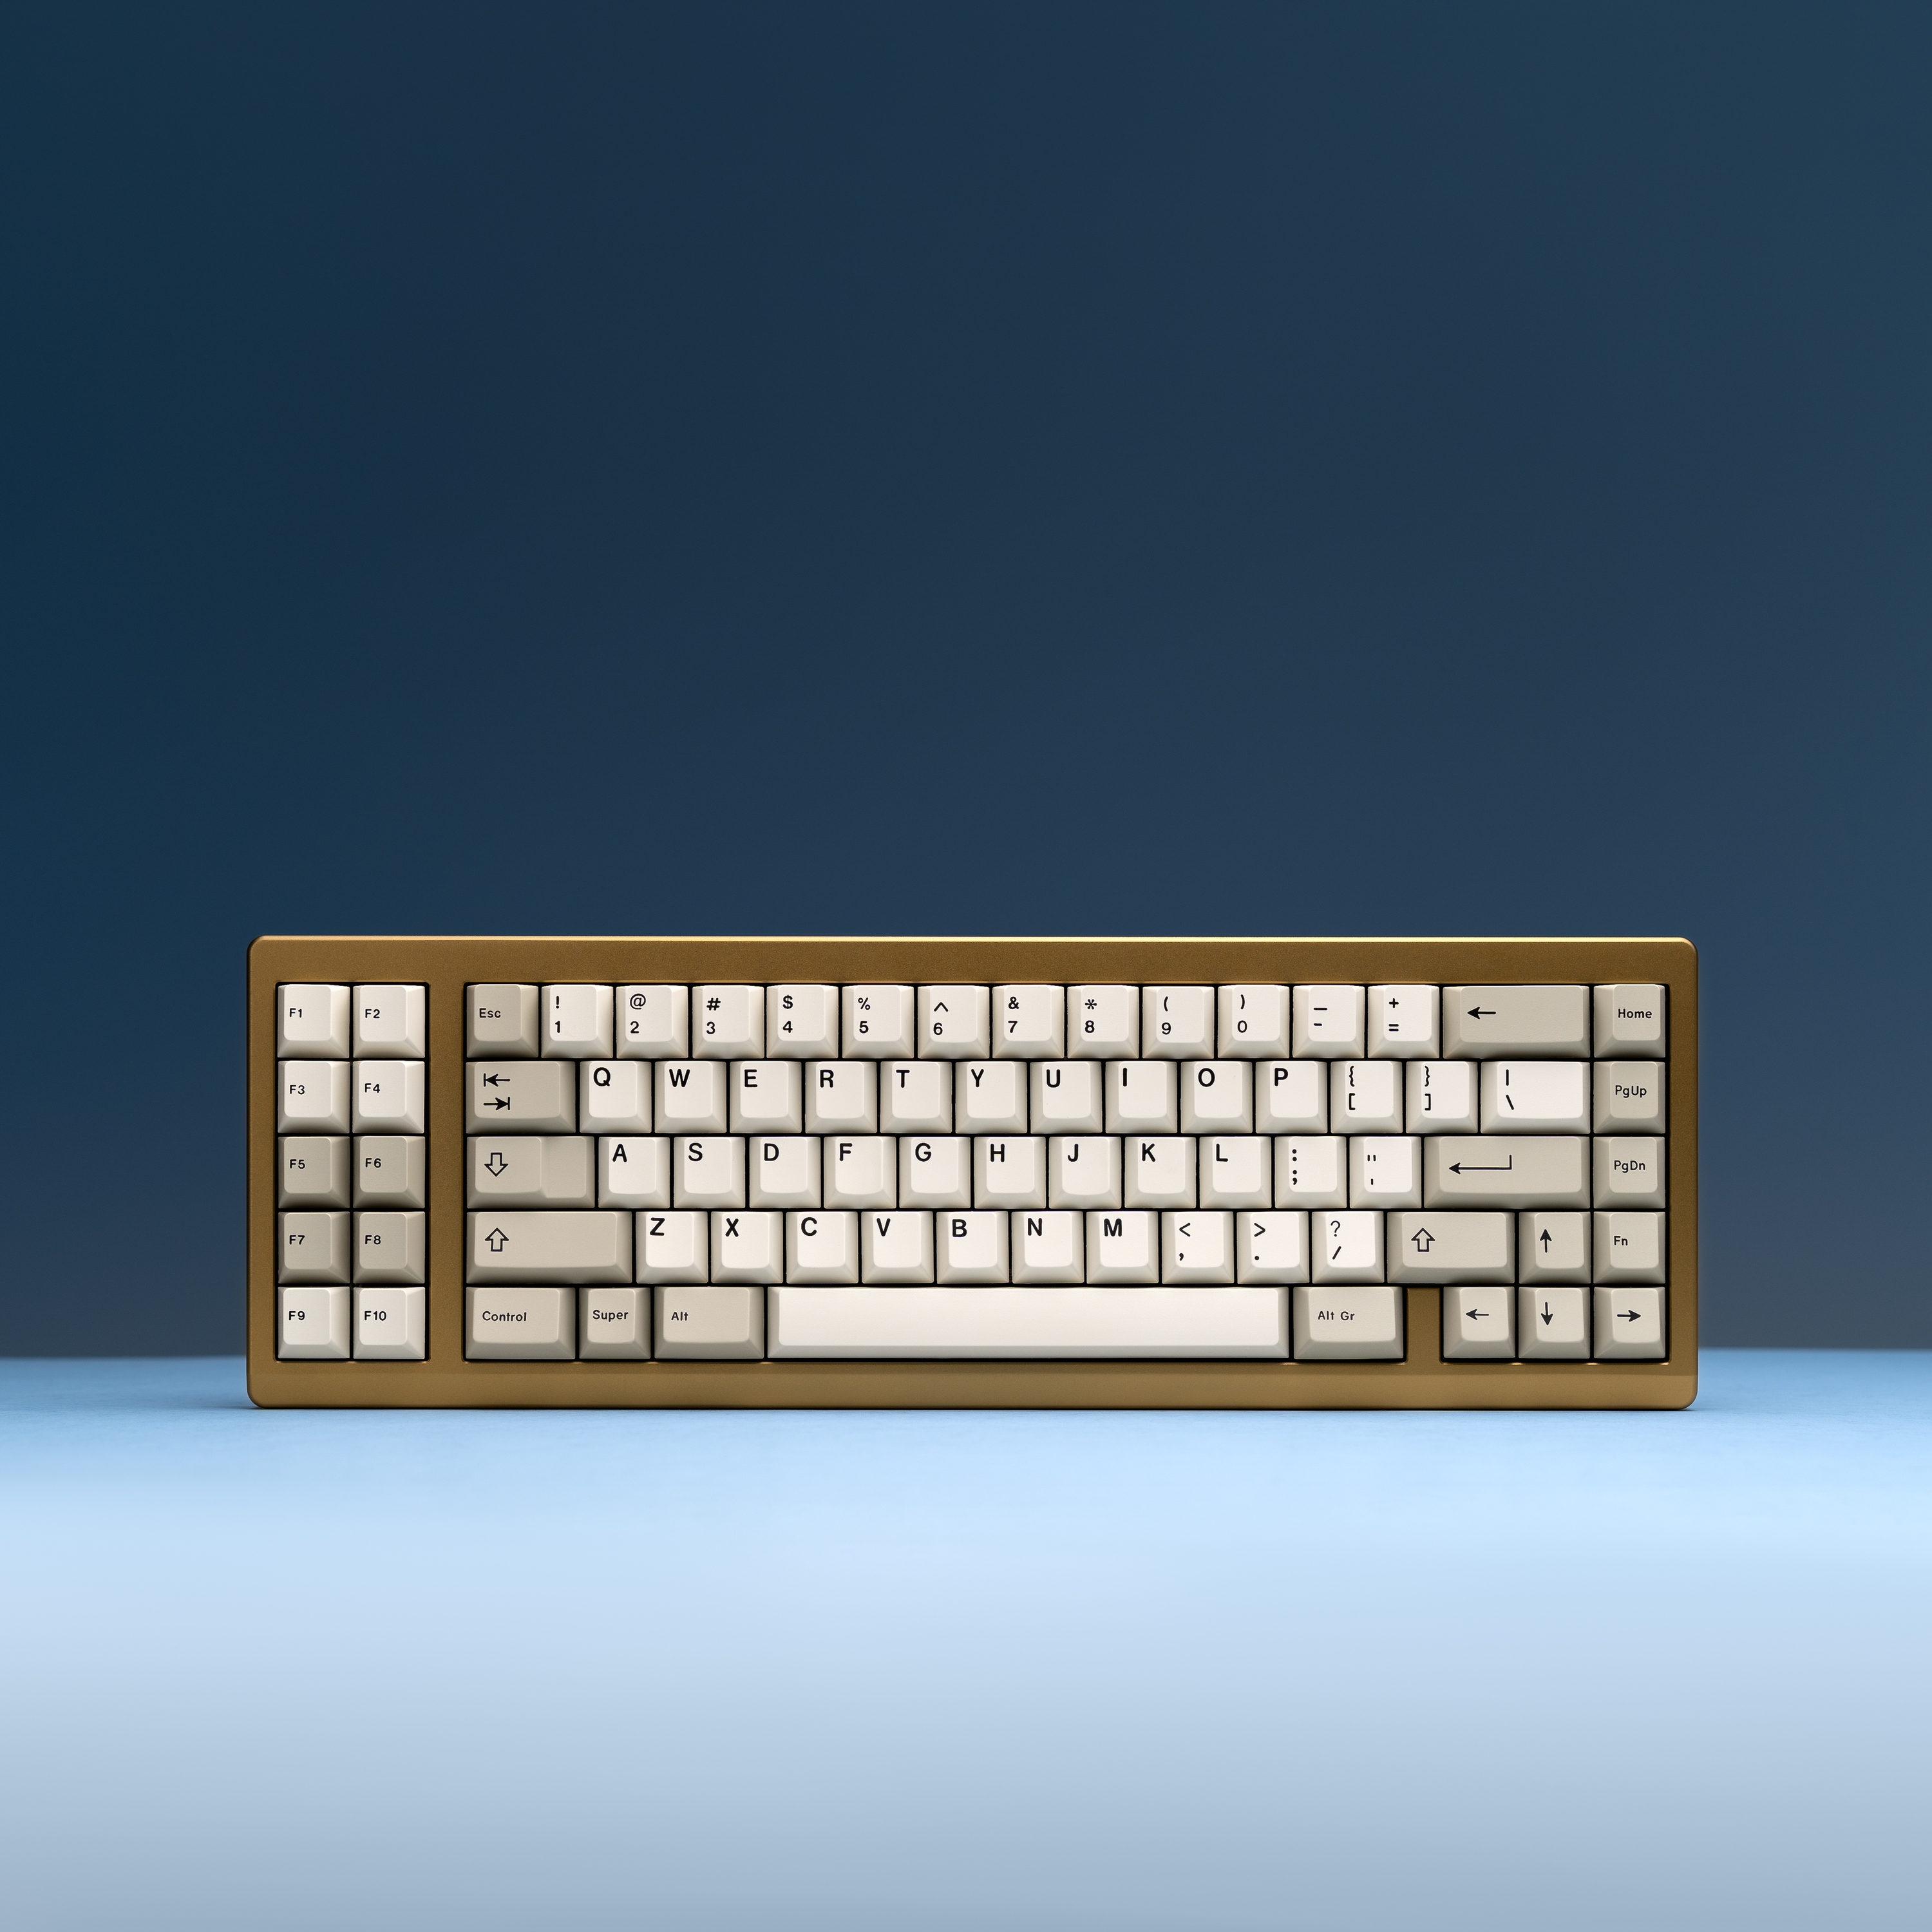
Here's a portrait that was taken with the 55mm lens.
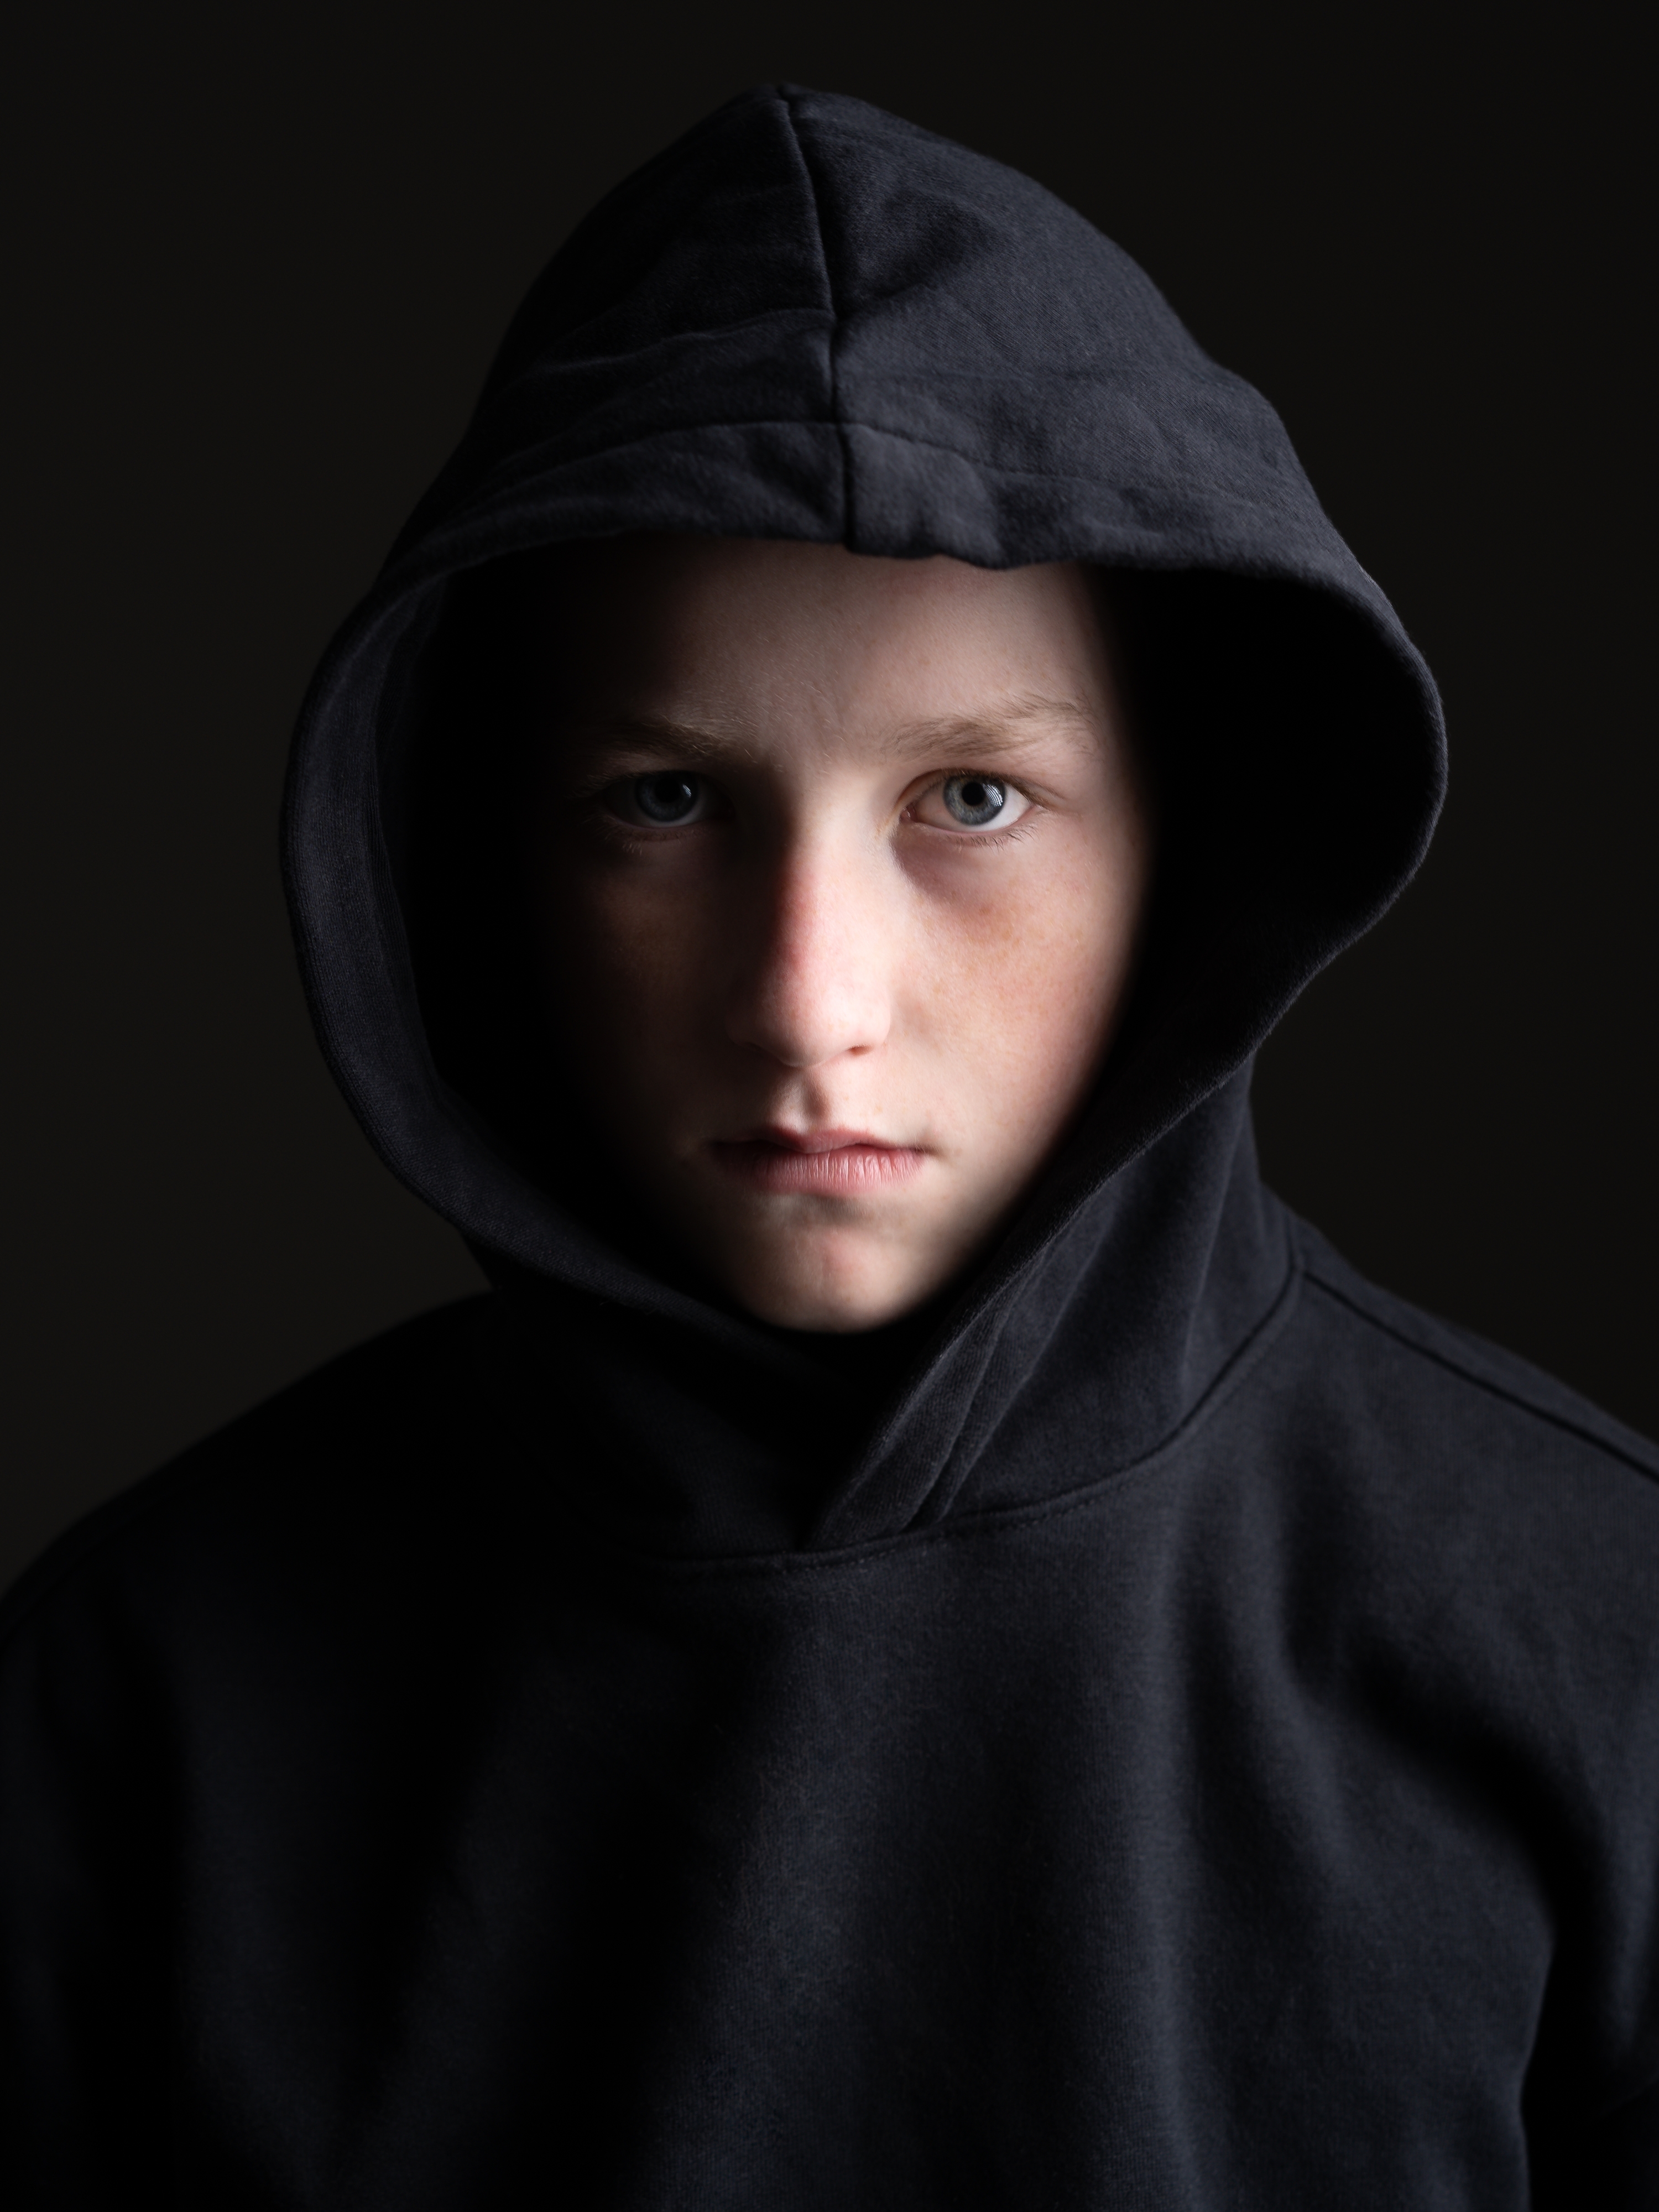
The other beauty of the 55mm f1.8 is the maximum aperture of f1.8 which means it is my go-to lens when I know I'll be shooting in poorly lit situations.
Another lens I currently have that is useful in some circumstances is the Sony f2 28mm lens. This allows me to frame for wider shots - although you do need to be a bit careful as it can distort your images. It's also great in lower light situations.
On the Sony A6600, I also have a Sigma f1.4 16mm lens which I primarily use for video/streaming but has been useful for a few of my photoshoots too if I need a much wider perspective.
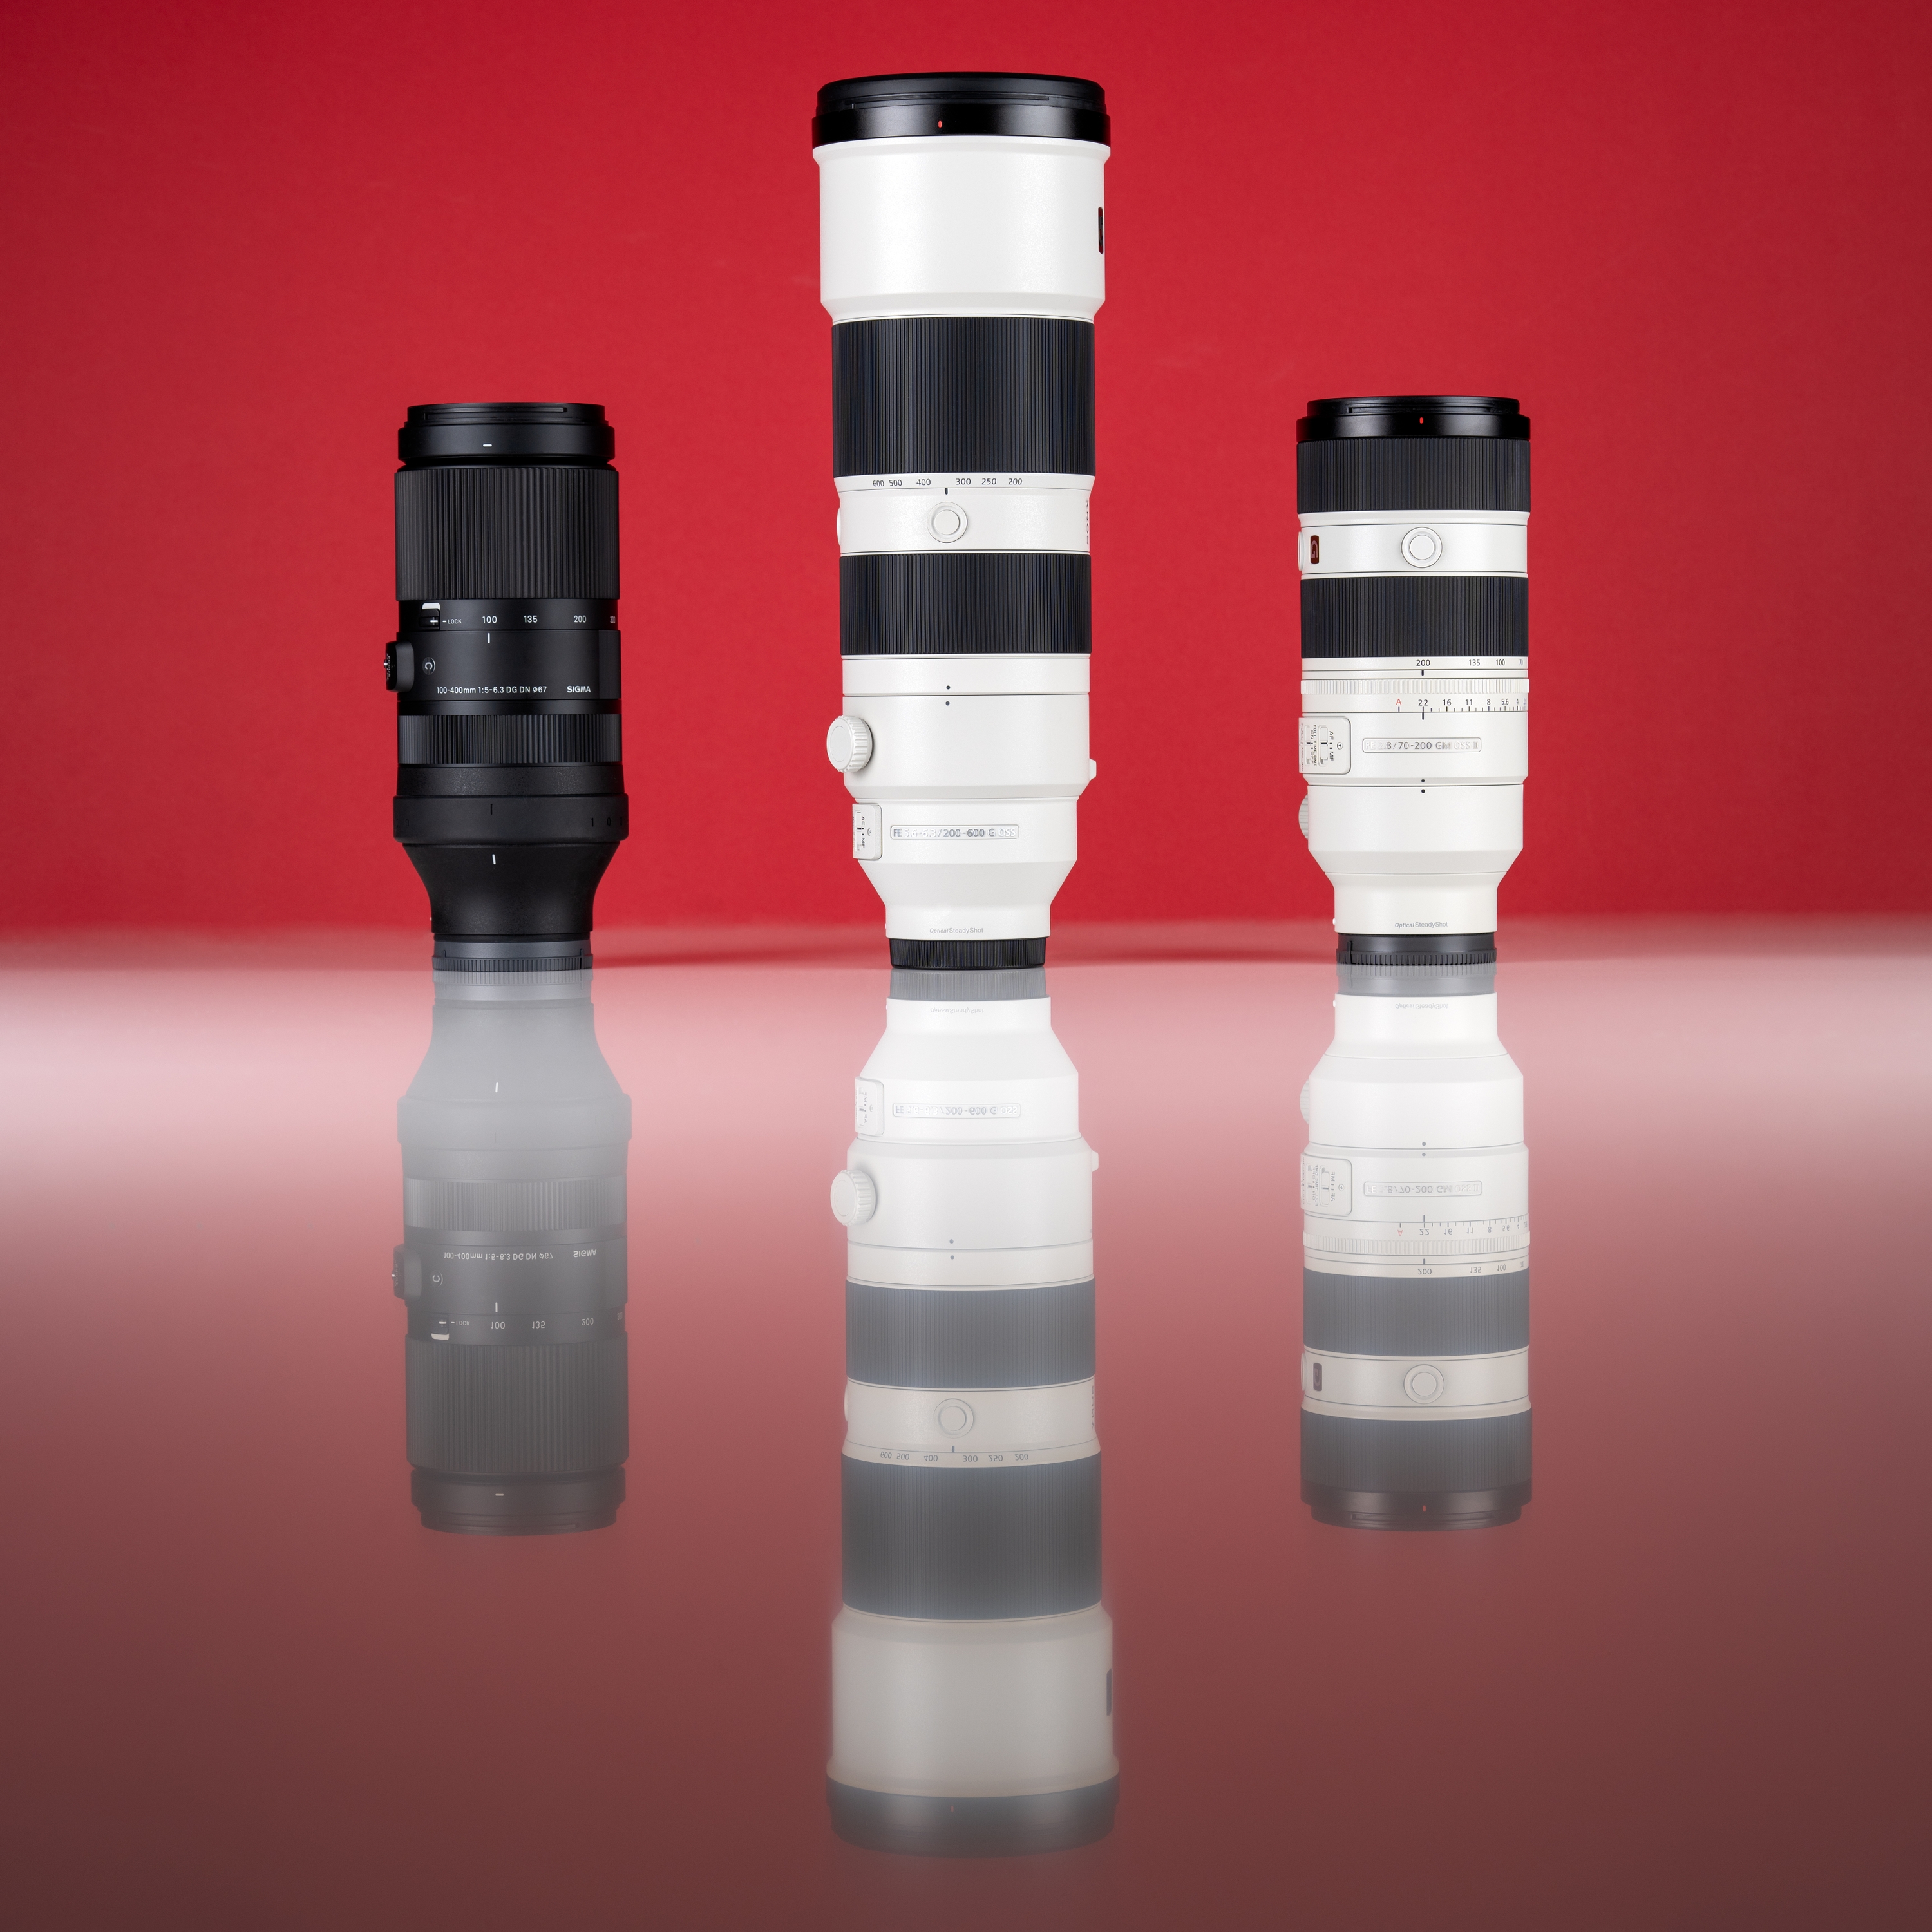
I have also recently added 70-200mm f2.8 lens to my kit (pictured on the right below). I bought this primarily for portraits and sports photography but it too is great for product photography work.
Also, I have the 200-600mm lens which I use purely for sports photography (pictured in the centre below).
Lights
One of the most important considerations in any kind of photography is light. While I do use a fair bit of natural light in many of my shots I have also got a couple of Godox VL150 continuous lights that have really lifted my photography to another level.
On them, I have mounted Godox P90L softboxes which are quite large and create a beautifully diffused soft light. The beauty of VL150 lights is that they are Bowens mount lights which means you can use a variety of other light modifiers on them.
Lately, I've been trying a variety of modifiers including a couple of Neewer Softboxes and a fun little Neewer Snoot (a cheap way to shape light)
This snoot has been fun but I also recently picked up Godox SA-17 with Godox SA-P Projector which takes shaping light to a whole new level! This allows me to cast shadows or create 'beams' of light on backgrounds like in these next 2 shots.
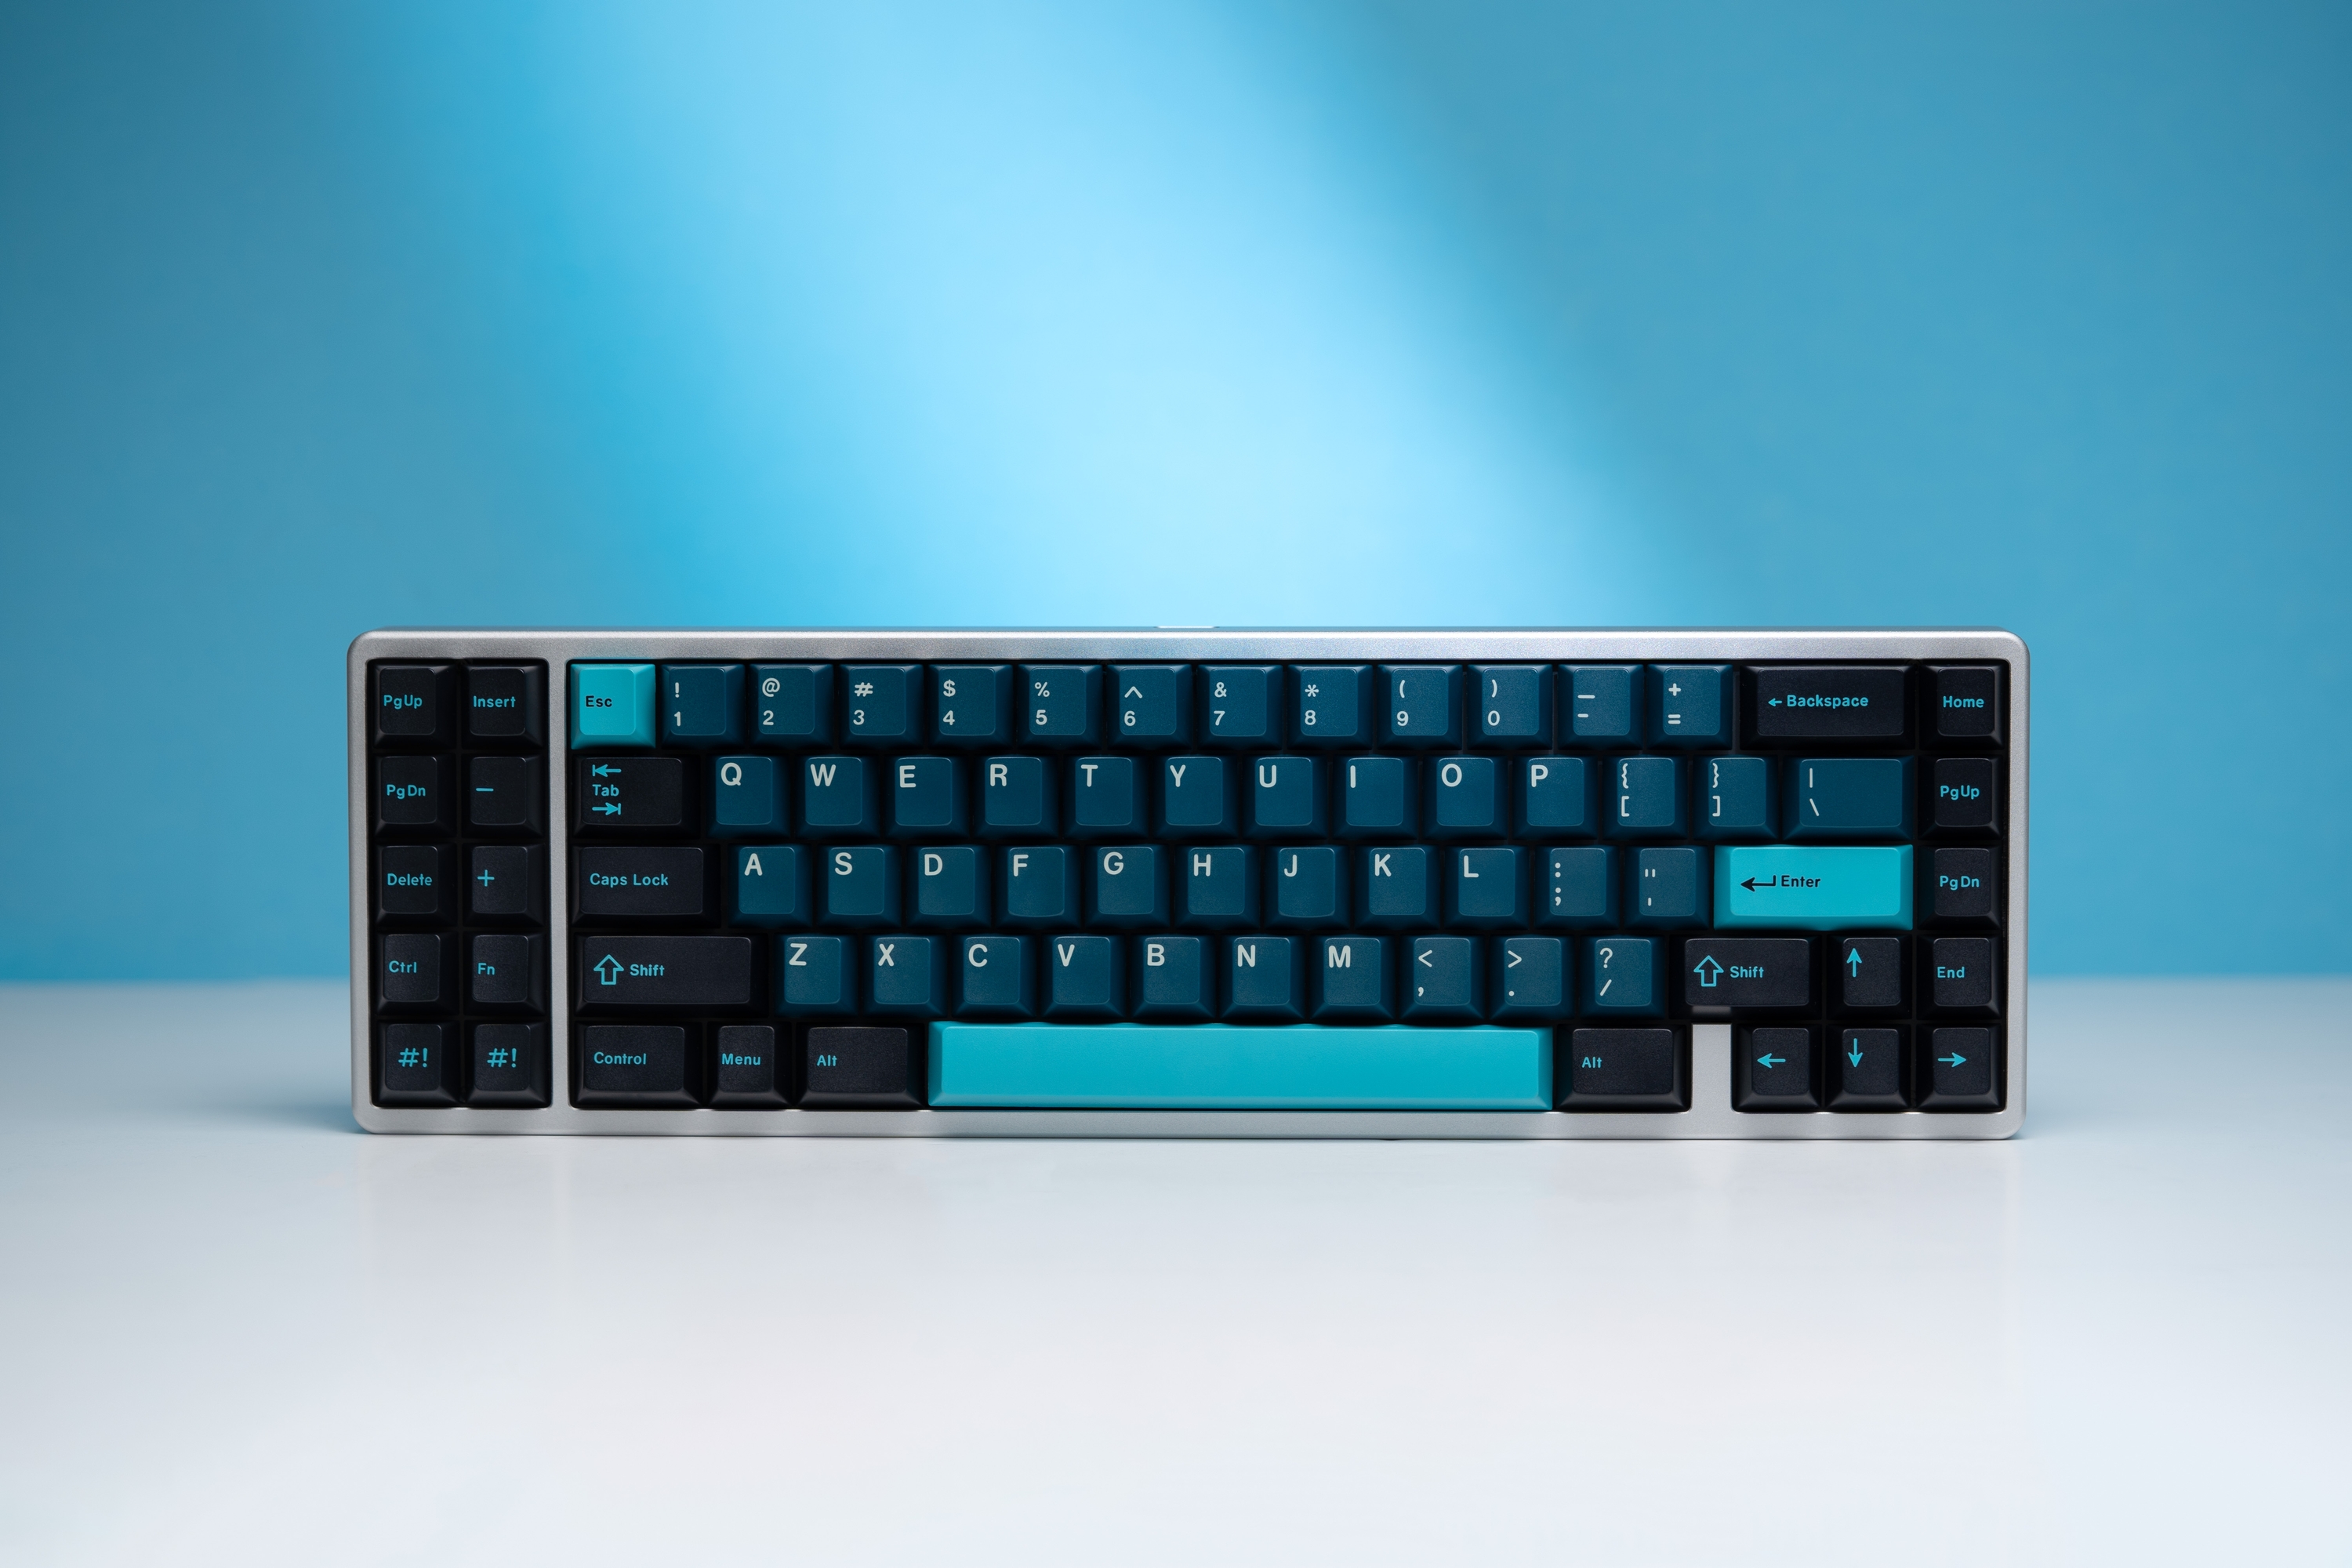
Also, my experiments have led me to explore using a couple of other Godox lights including the SZ150R which is an amazing light that produces light similar to the Godox VL150 mentioned above but also a full spectrum of colours of light in RGB mode. Along with it, I have a couple TL60 tube lights that are also full-spectrum RGB lights which allow for creating bright and colourful backgrounds like the shot below with the neon pink and orange background (shot with two lights to get the gradient).
Many times I only use just one of the Godox lights for my images - but having more than one has been handy for some of my more complex lighting setups.
Godox lights are more affordable than some of the higher-end continuous lights on the market but if you're looking for something even more affordable I previously had a couple of Neewer Bi-Color 480 LED lights and Neewer's matching softbox diffusers.
These are much smaller but still create some great light. I sometimes still use these to create some accent lighting on my shots. The beauty of these is that they allow you to create daylight and a warmer yellow light also.
One last little kit of lights that I have found surprisingly handy is the SmallRig Mini Led Light Portable Lighting Kit (pictured below).
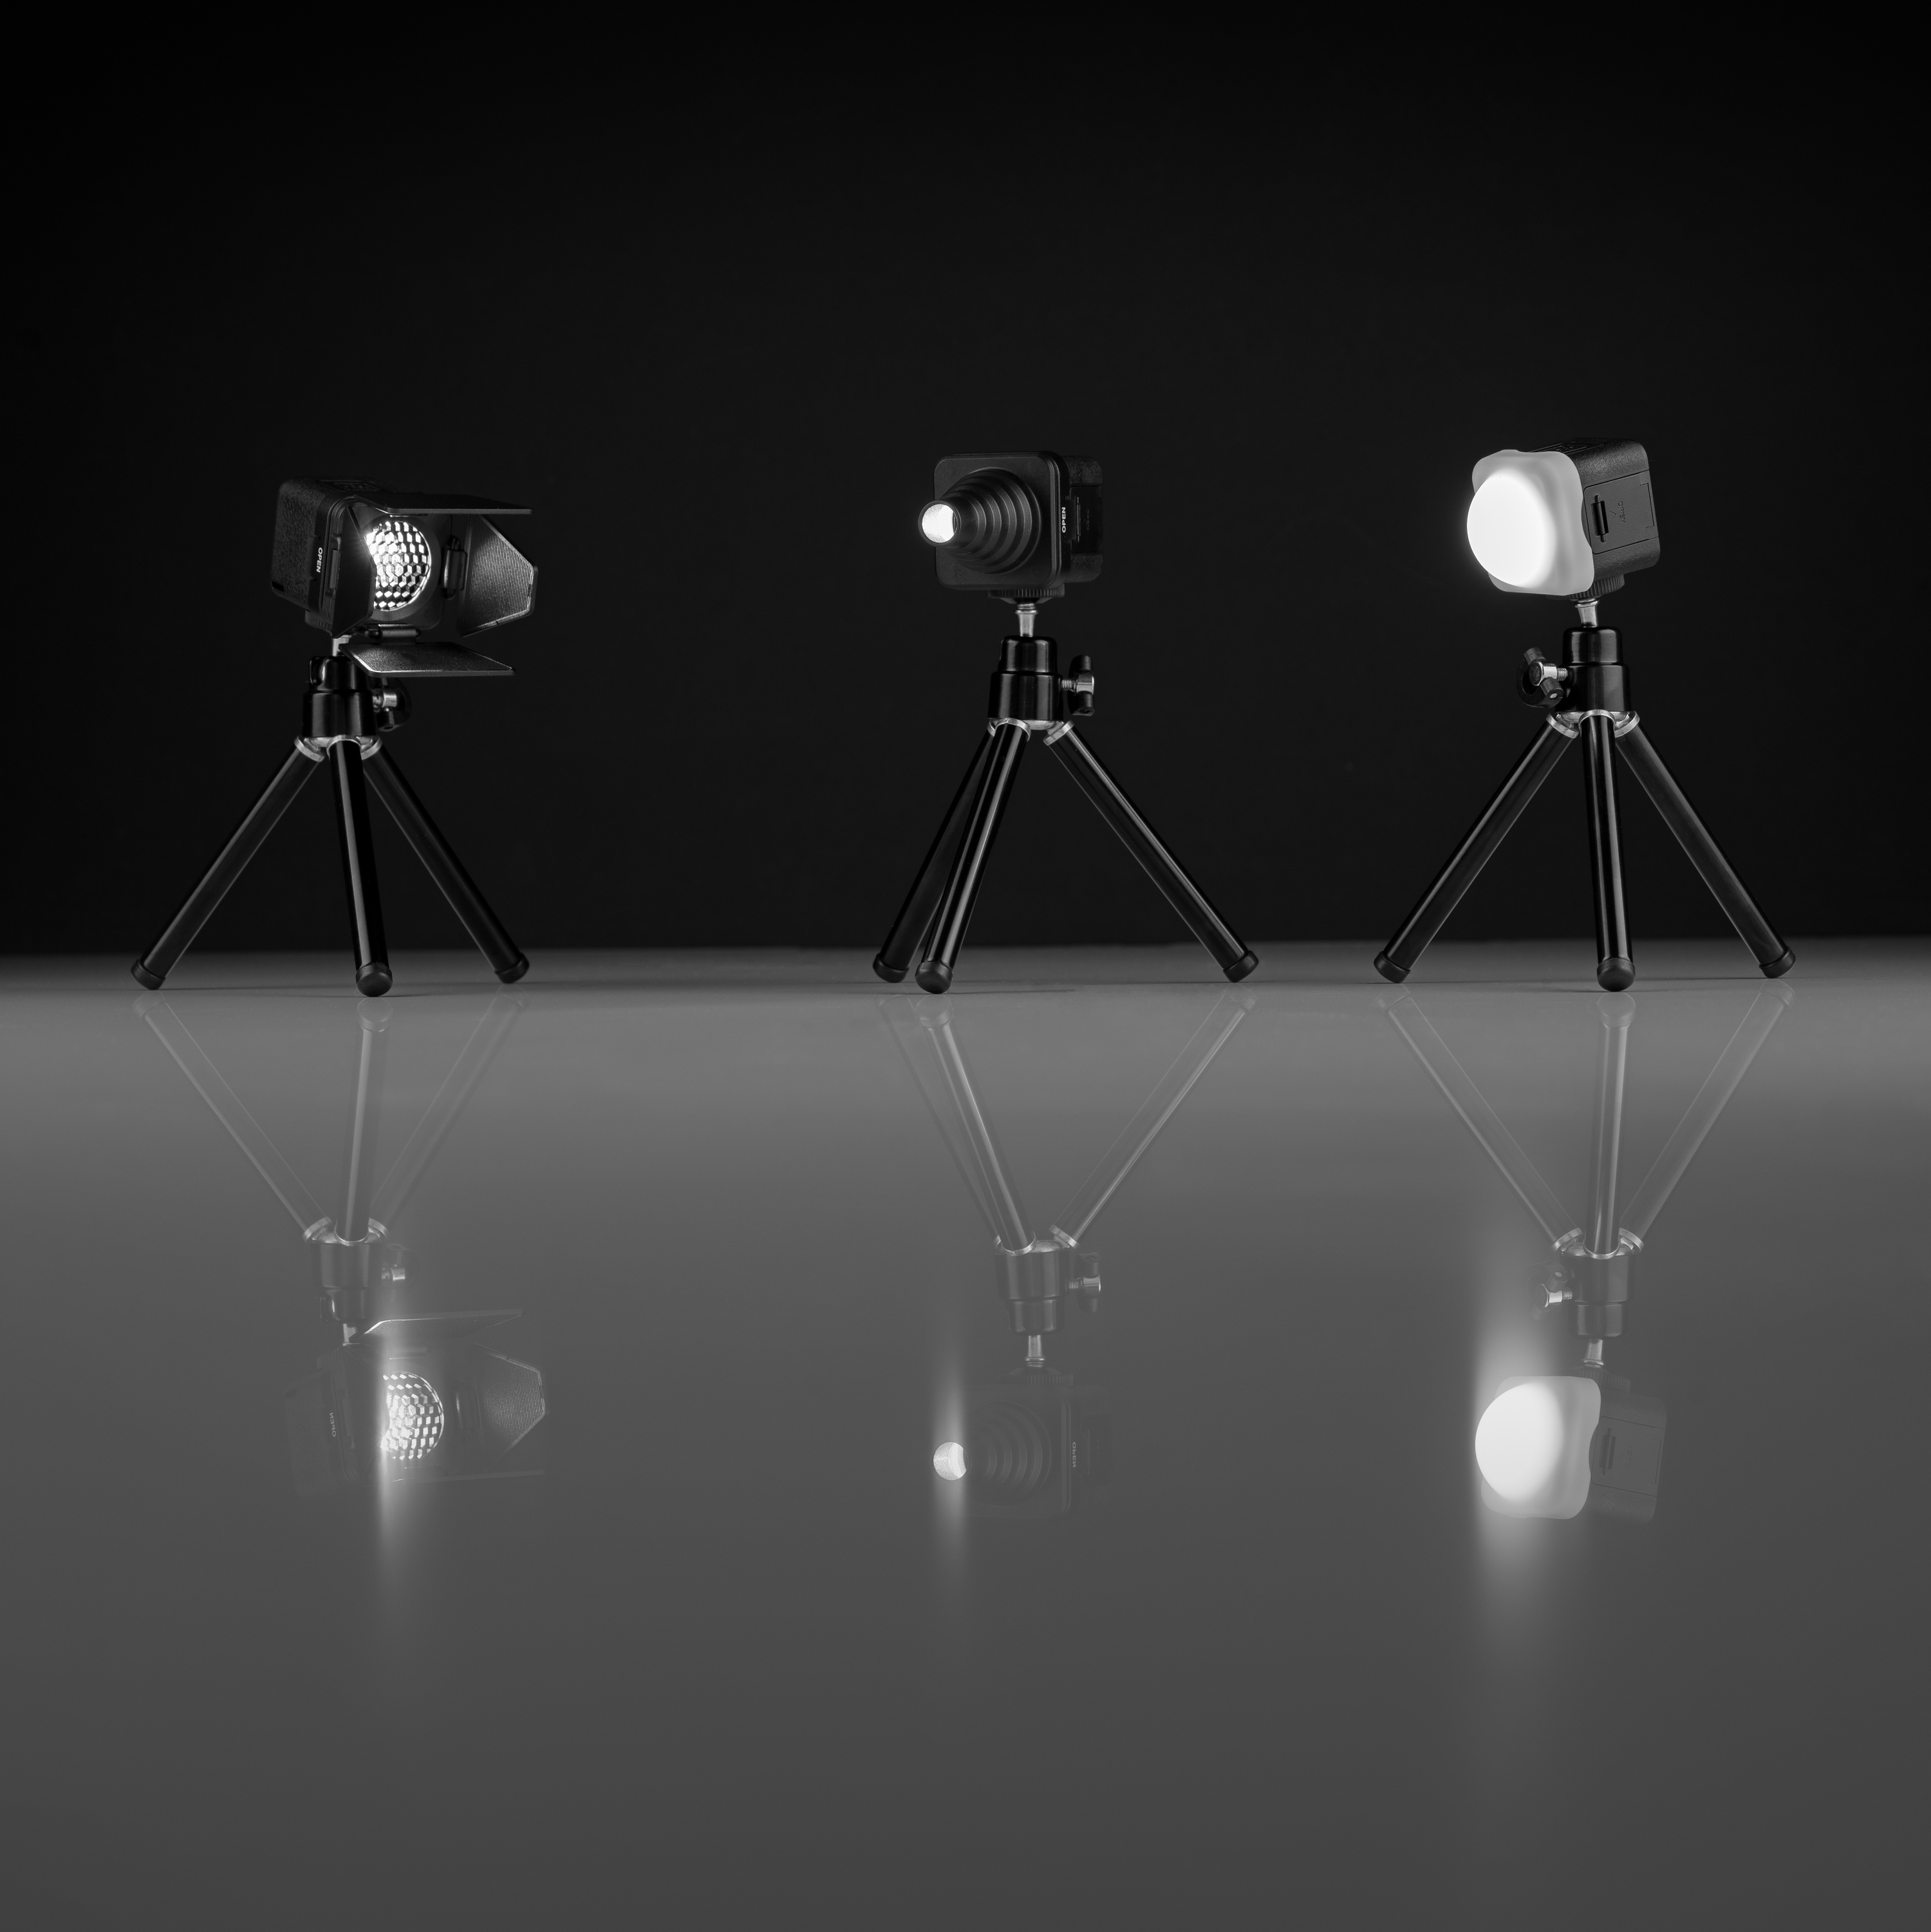
These three lights are tiny but when you're shooting small products (like keycaps for example) they are brilliant for shaping and diffusing light as they come with not only the three light cubes but also a variety of magnetic diffusers, colour gels and attachments.
This next shot was lit with just these three tiny lights:
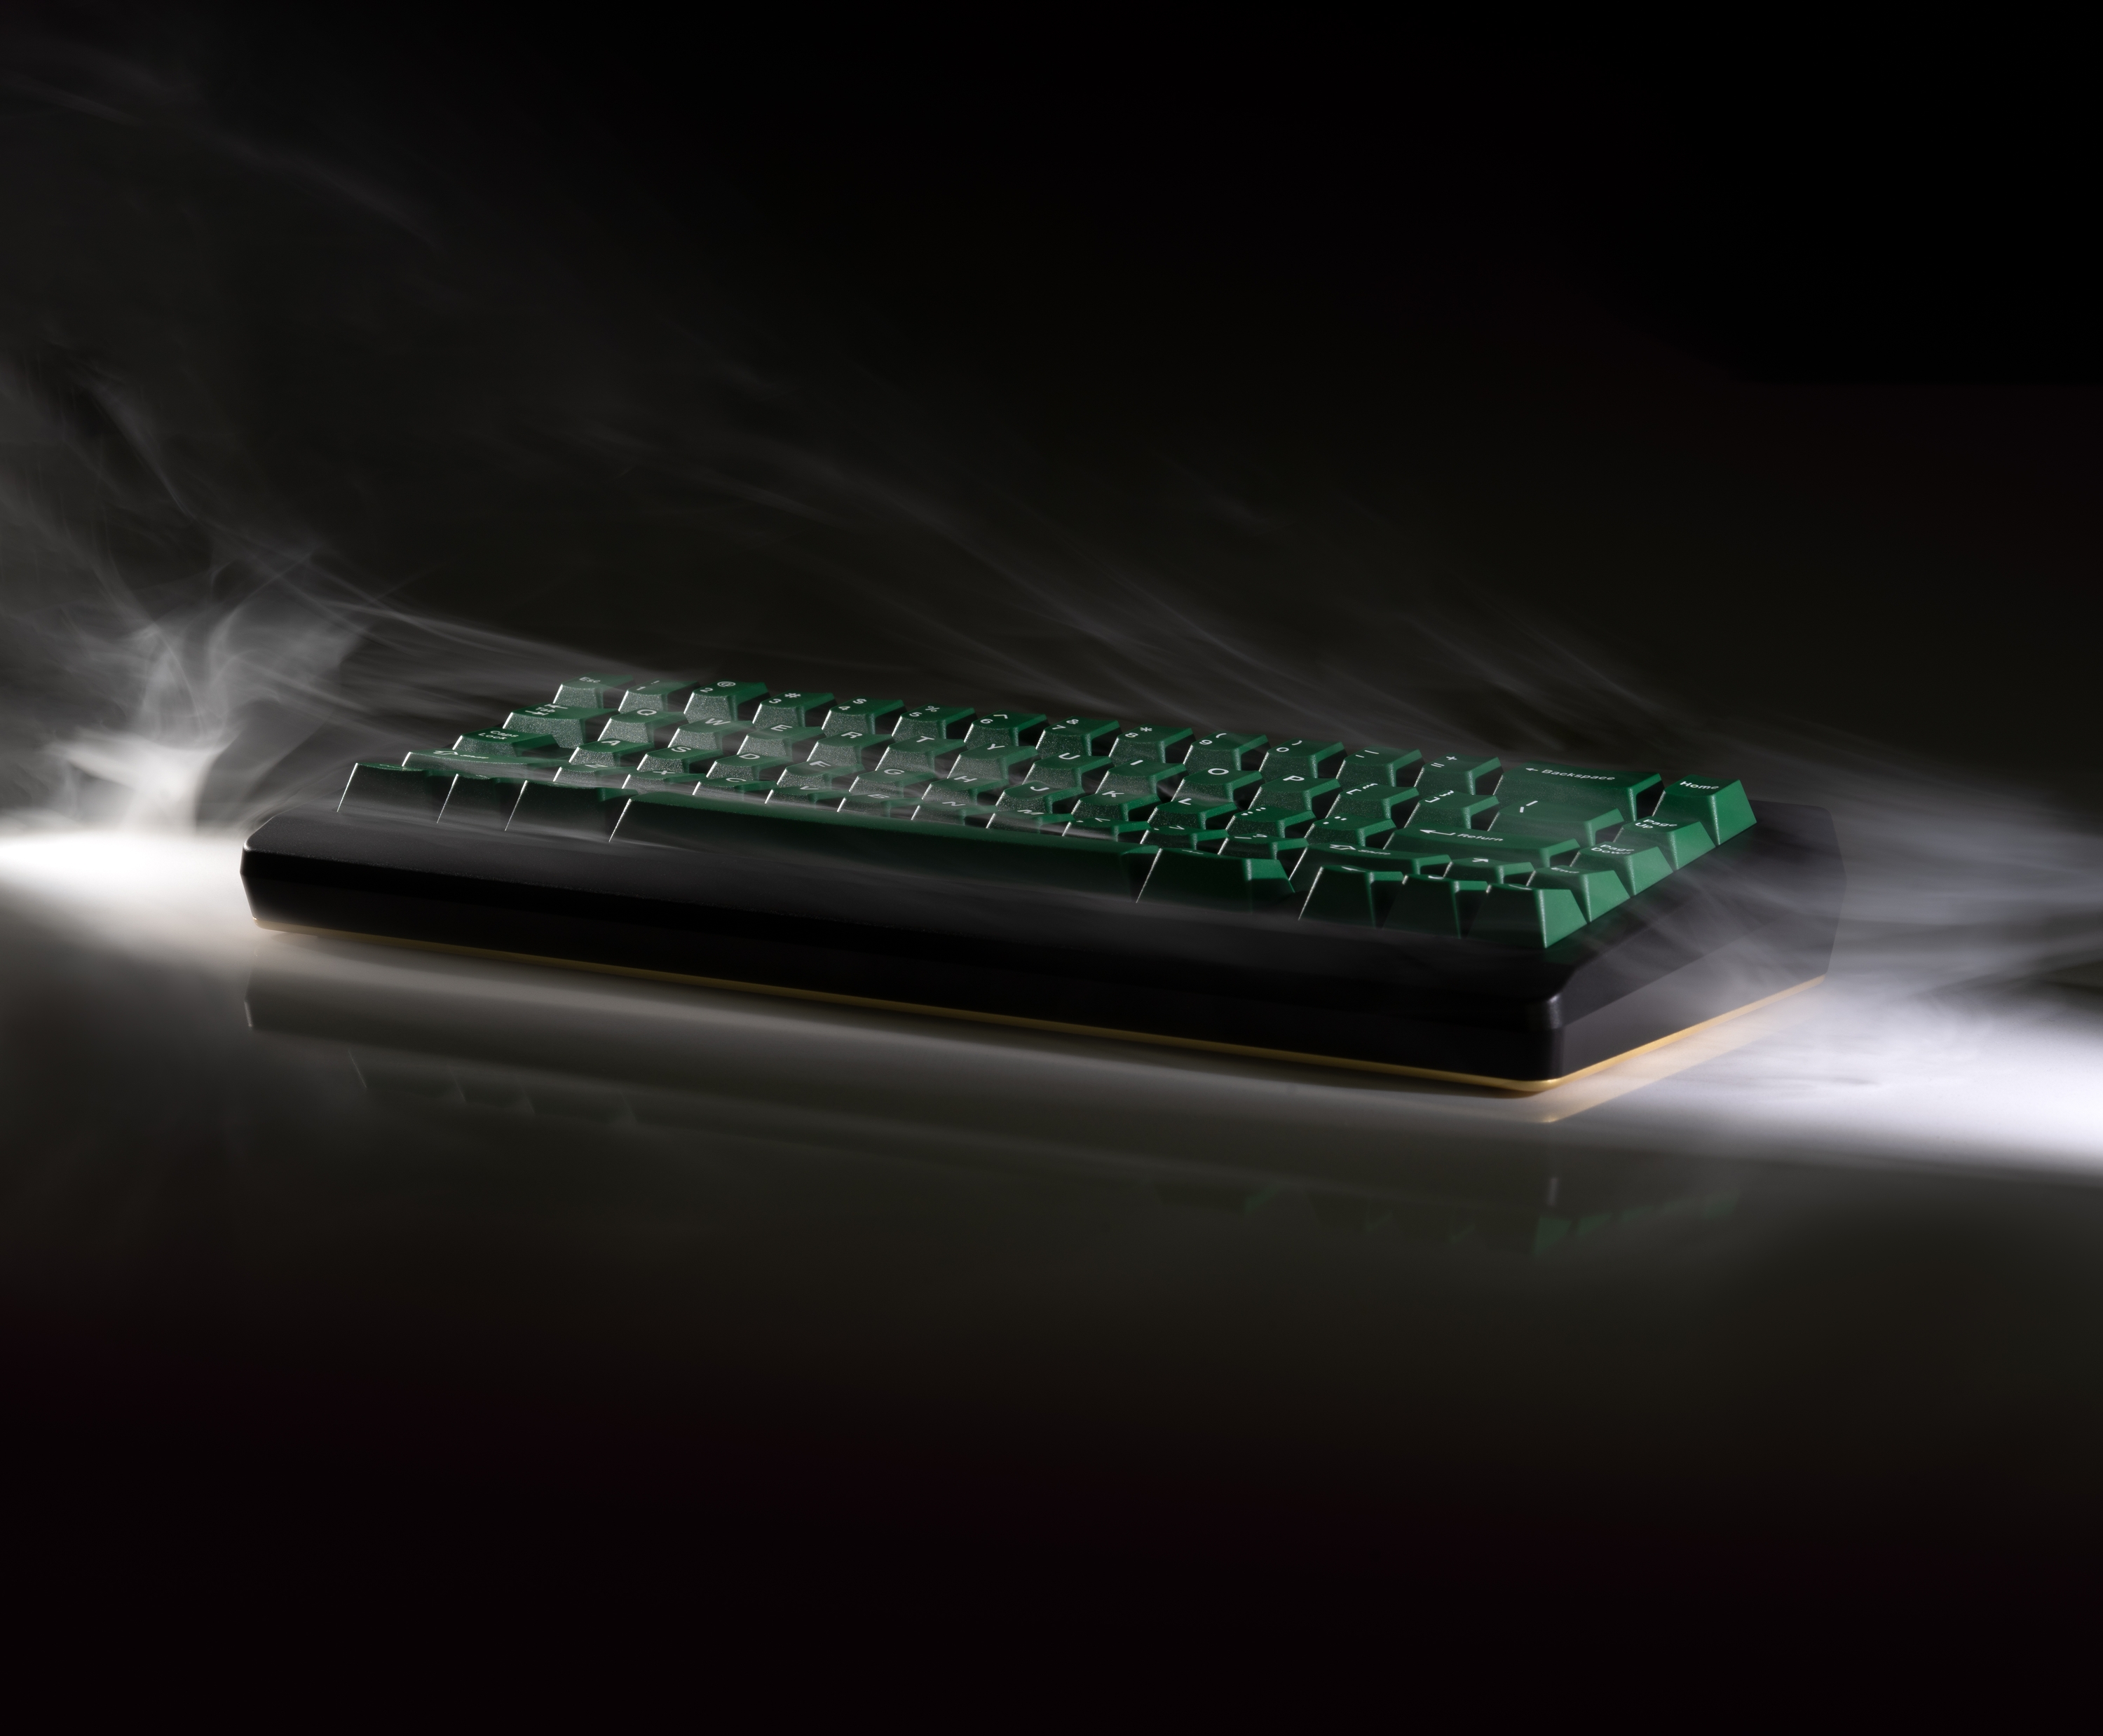
Perhaps more useful than using them as your only lighting source is when you use them as accent lights.
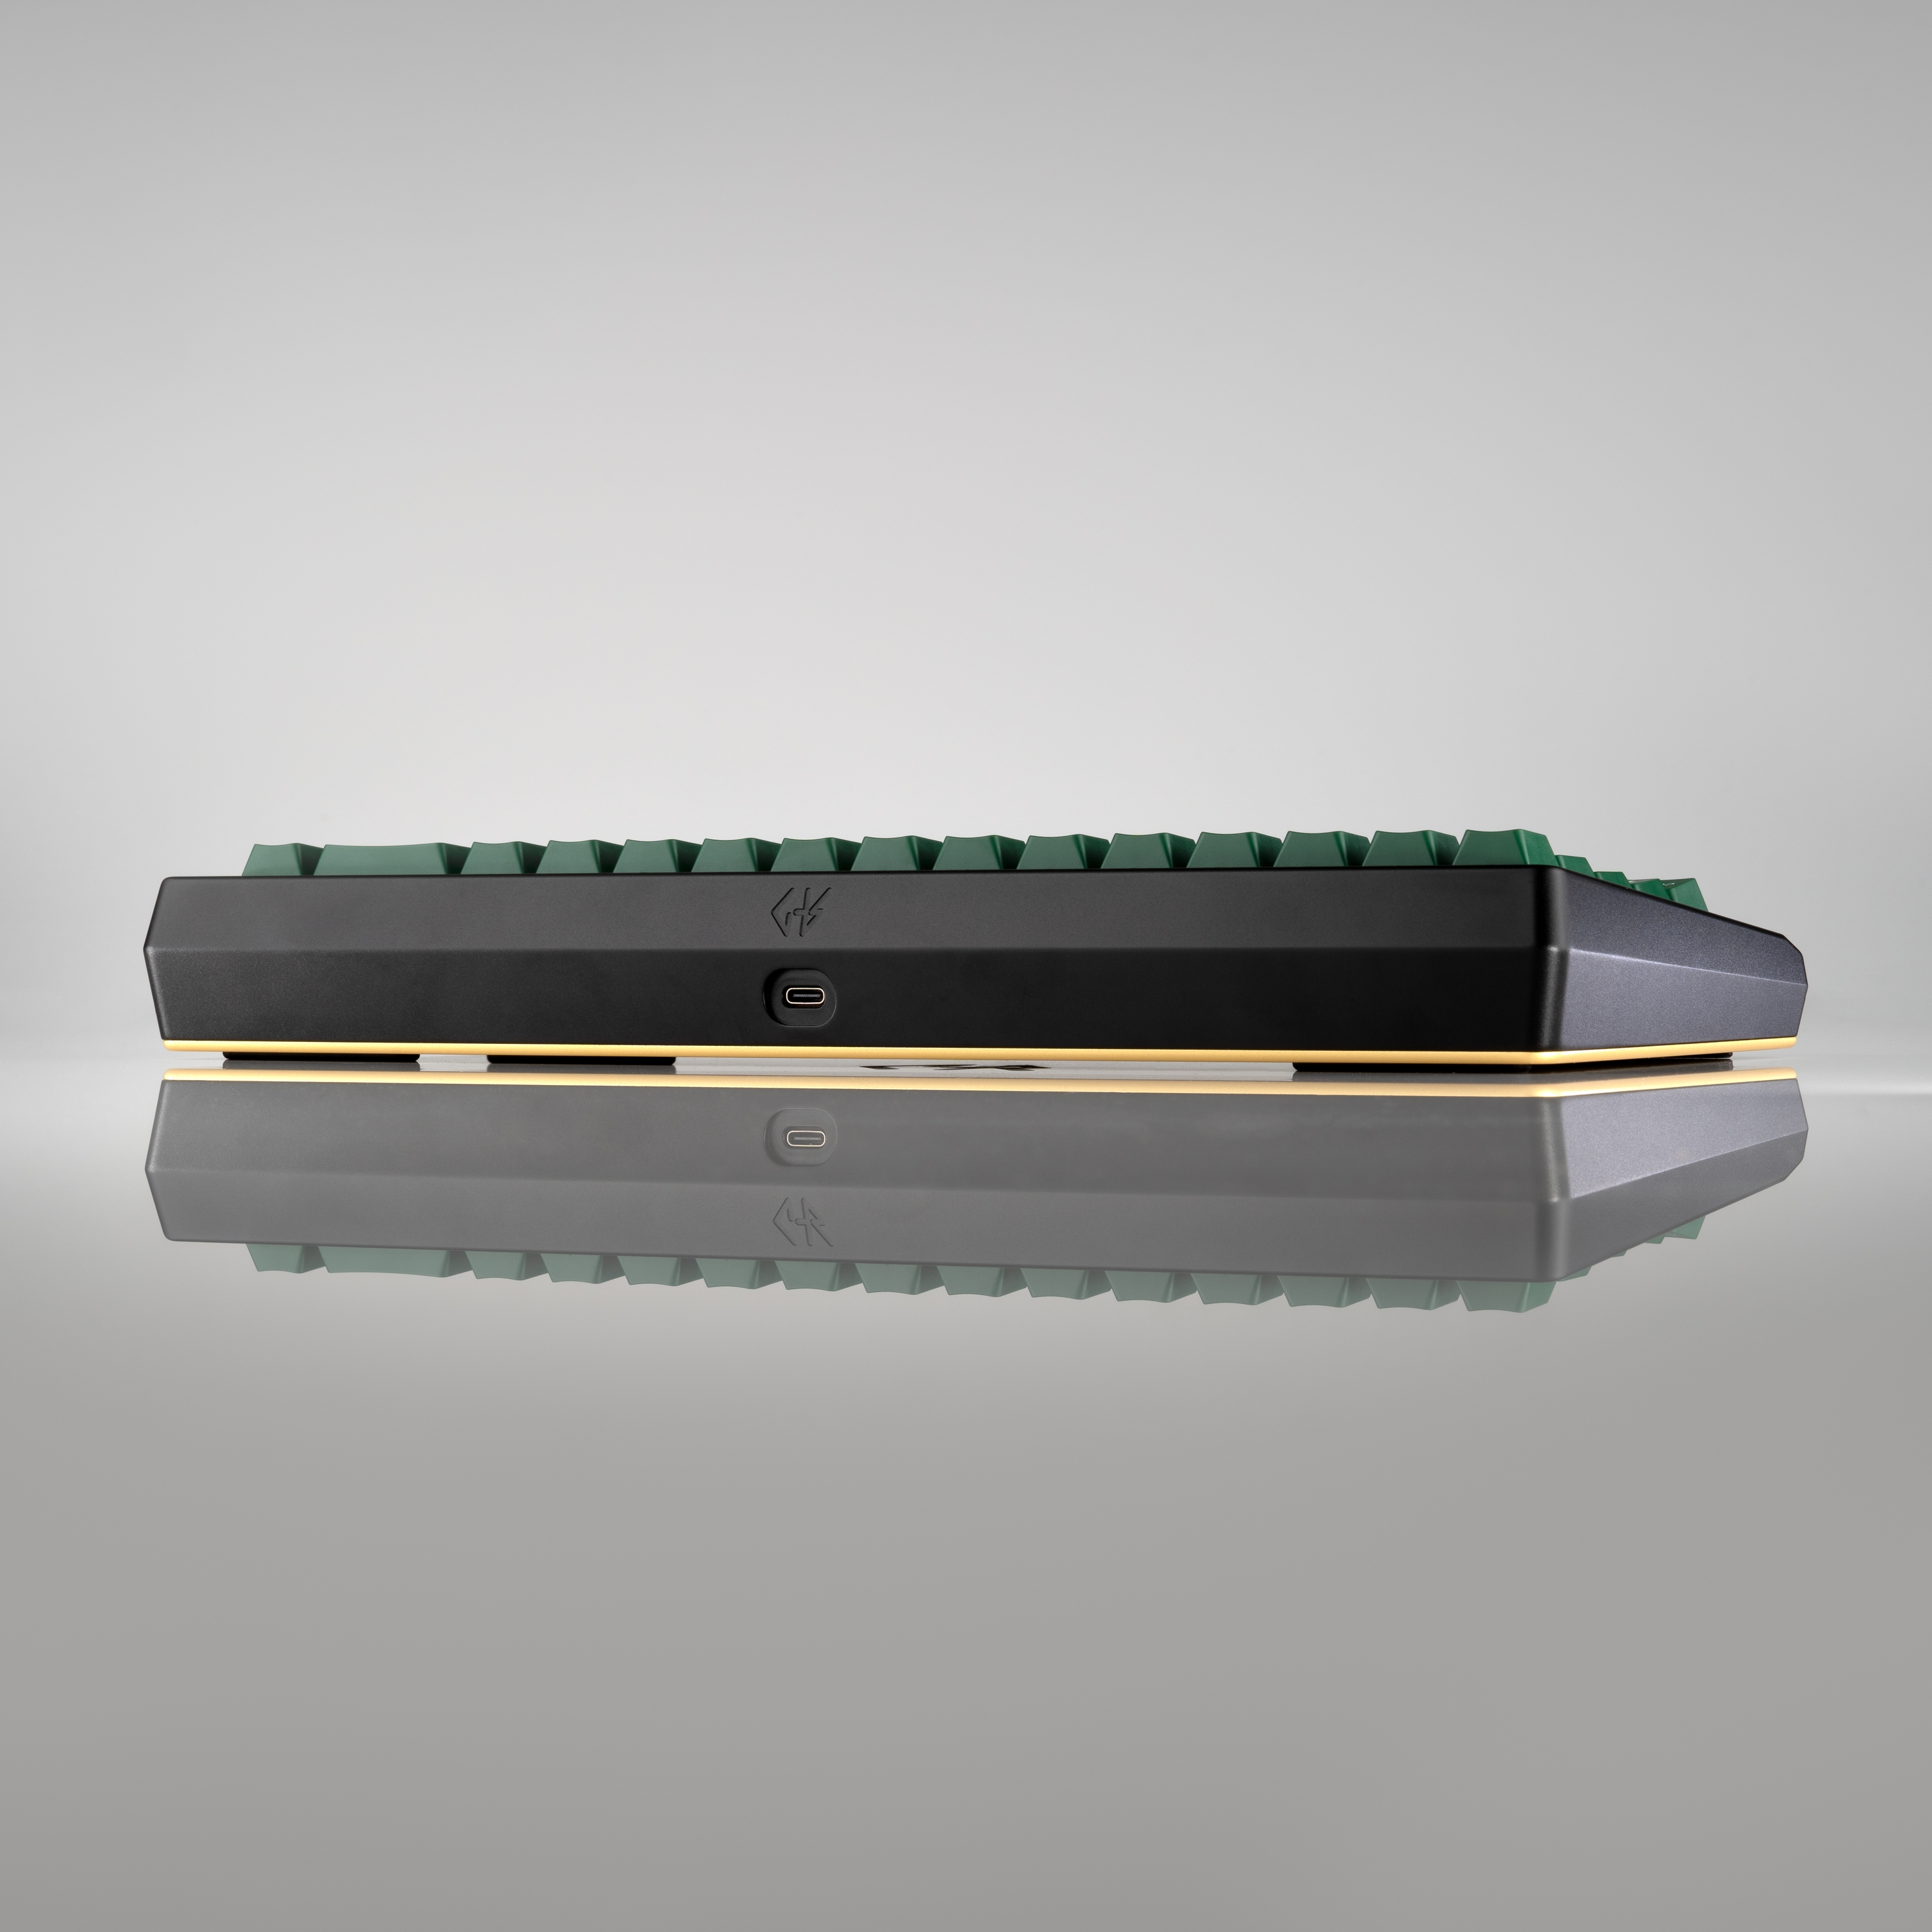
In this next shot, I used my Godox lights to light the product but had these SmallRig cubes providing some accent light on either side of the keyboard. In hindsight, I wish I'd used the third one from above to give the top lip of the board a little light too.
Stands
The Neewer lights mentioned above come with lighting stands that are quite light and easy to use but for the Godox lights I prefer a sturdier light stand and picked up these heavy-duty lights from Neewer.
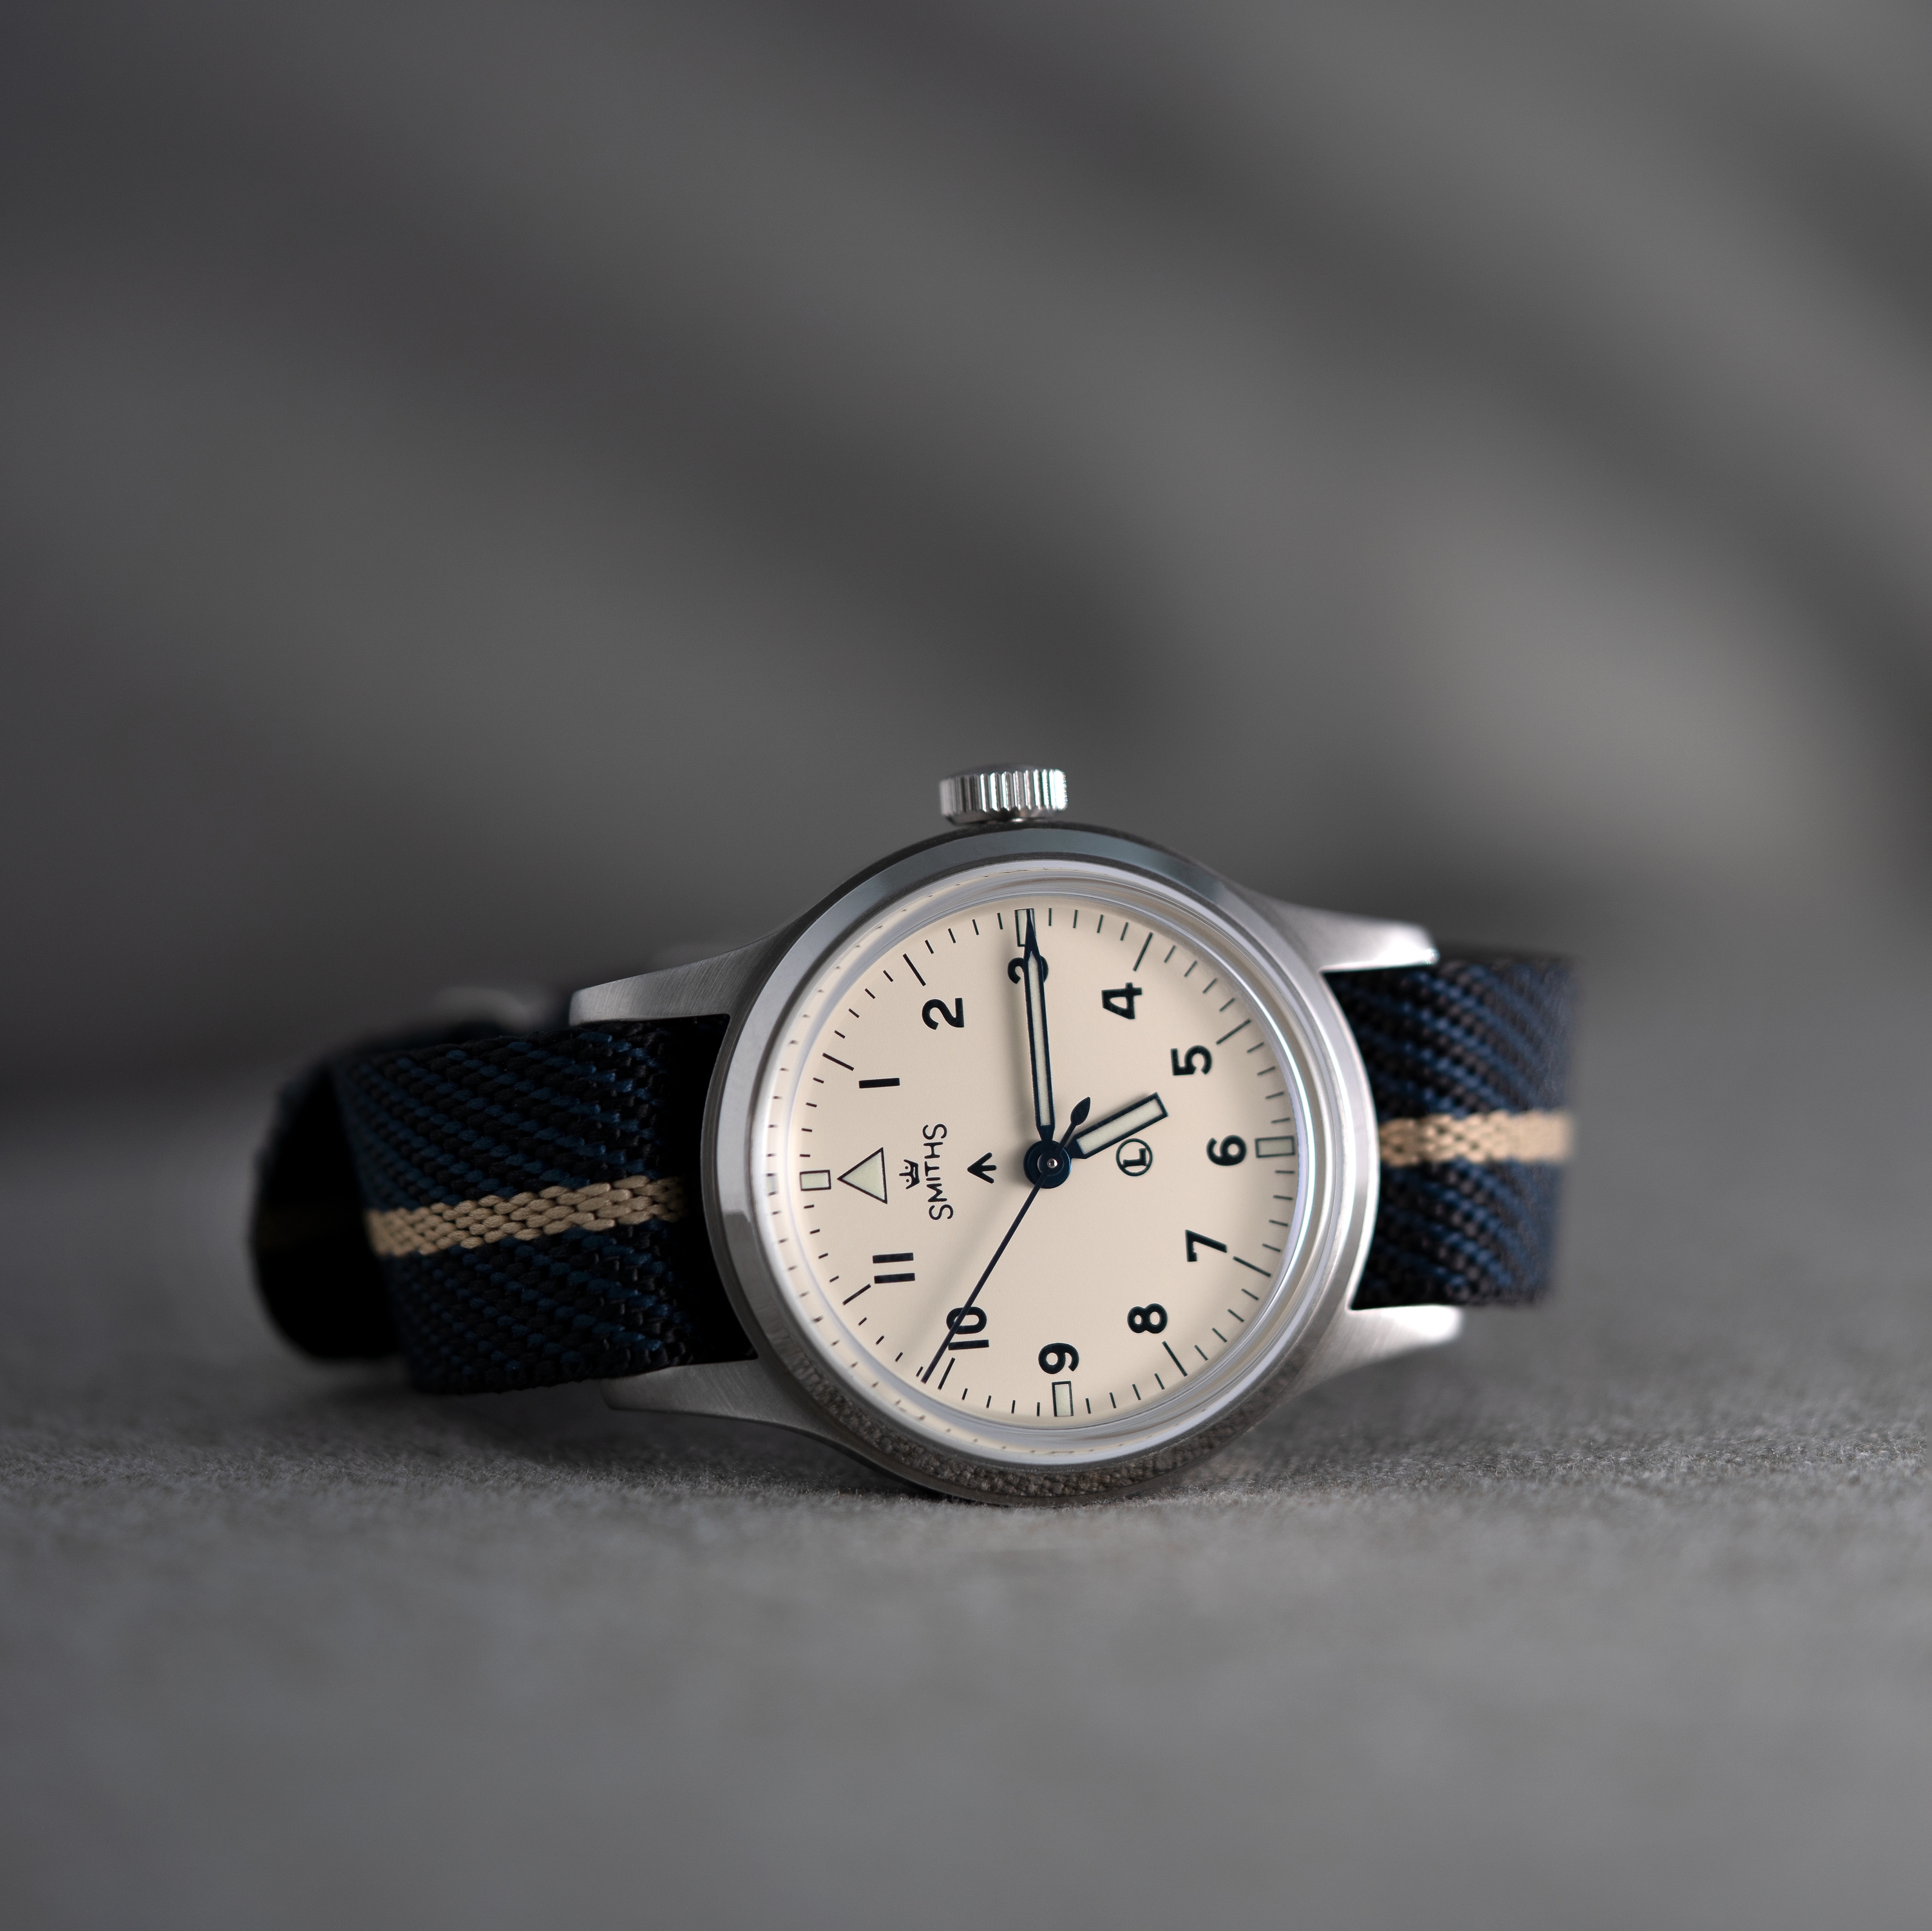
I also have more recently acquired a C-stand which allows me to light directly over the products I'm photographing or alternatively to mount my camera directly above the set. This stand is very sturdy and has allowed a lot more flexibility in shooting and lighting angles.
Tripod
A tripod is a must for most of the shots I take as it allows me to carefully set up a shot, and then adust lighting without having to frame again. It also is very useful if you want to shoot at slower shutter speeds (which I do at times when shooting with lower light and/or small aperture and low ISO.
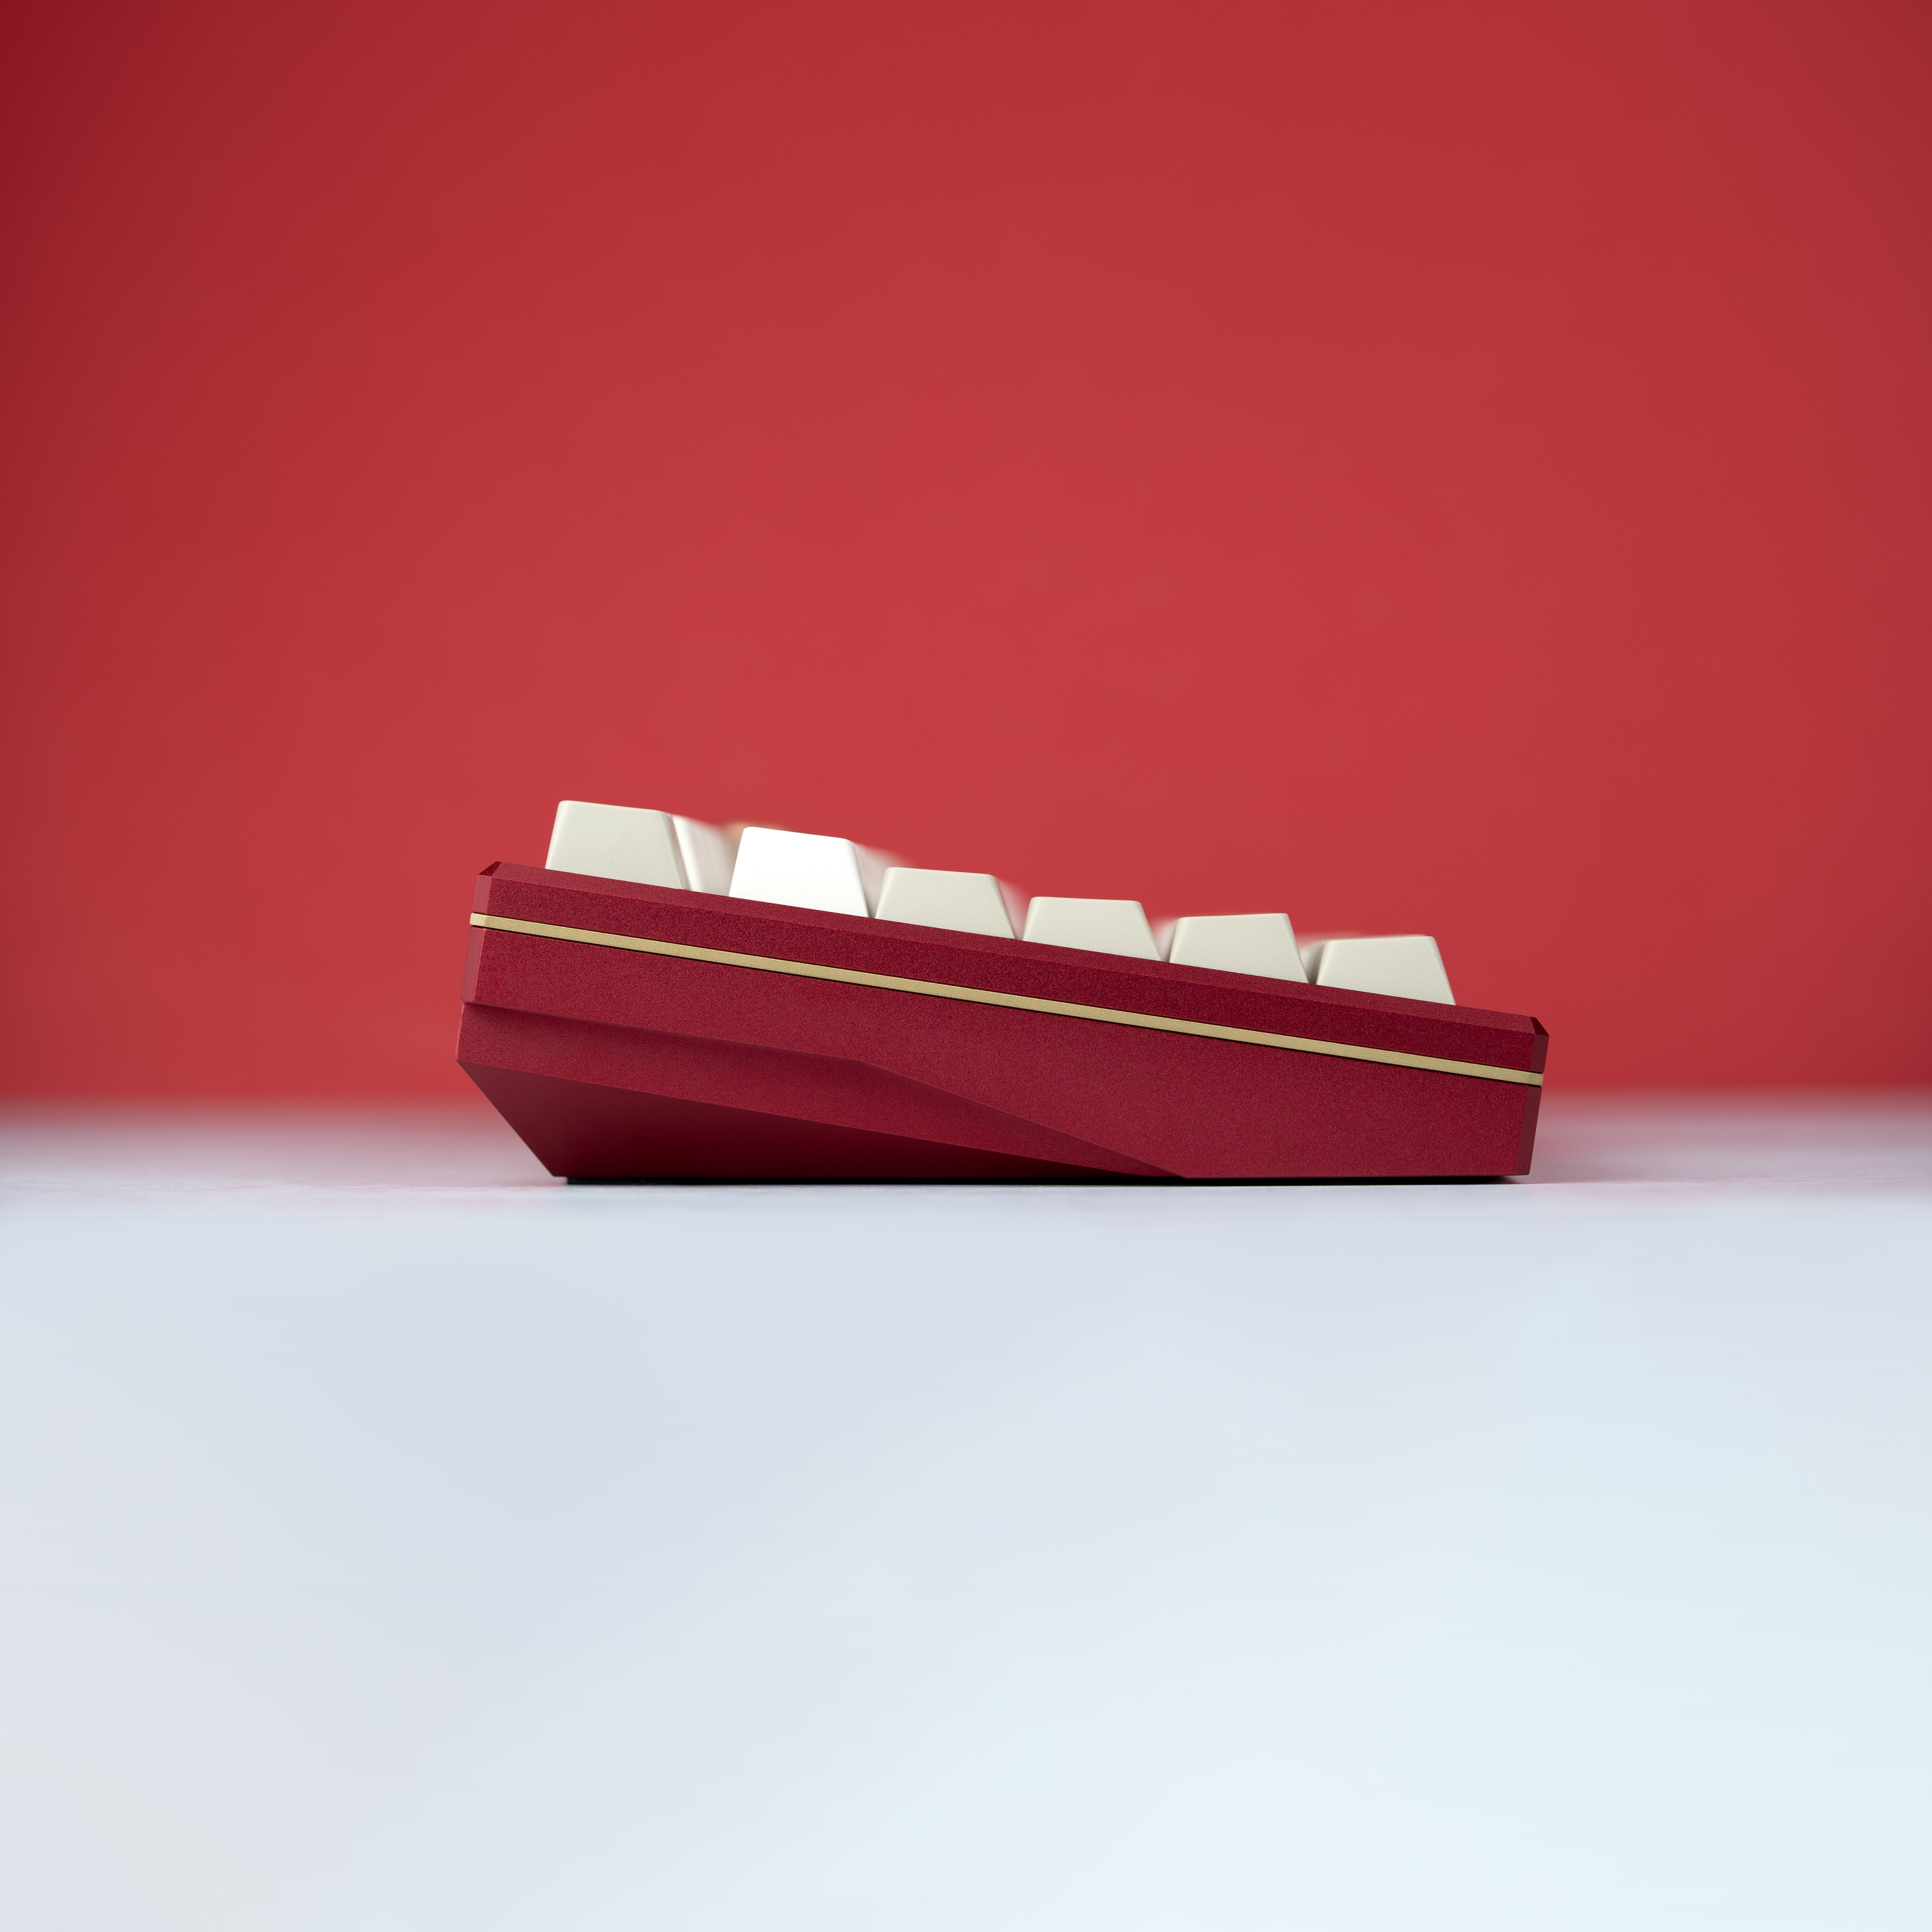
I have an older Manfrotto tripod (a forerunner to this model) but there are many out there that would do the job. Just try to get something sturdy that allows you to shoot both from up high and right down low.
Backgrounds
Many of my photos are shot at my desk, on our kitchen bench (which is a nice big white shiny surface) or on other surfaces around our home (coffee tables, side tables, on the laundry floor tiles, in the bathroom in front of some gorgeous tiling etc).
However one of the most affordable purchases I've made over the last few months is some cheap poster paper and black and white foam board from a local office supplier.
I get the largest size I could find (A1) and a range of colours.
The foam board (black and white) allows me to have a solid surface and sometimes is the background I shoot with. White foam board is also useful for reflecting light up onto a product. Black foam board can be used to block light and help create shadow.
The coloured poster paper is thinner than the foam board but is incredibly useful for backgrounds. In fact it's used in 70-80% of the images I take.
For example - the following shot is of a 7V keyboard that I stood up on our kitchen bench and put a piece of purple poster paper behind it.
The bench is white and shiny so reflects the purple poster paper and the keyboard.
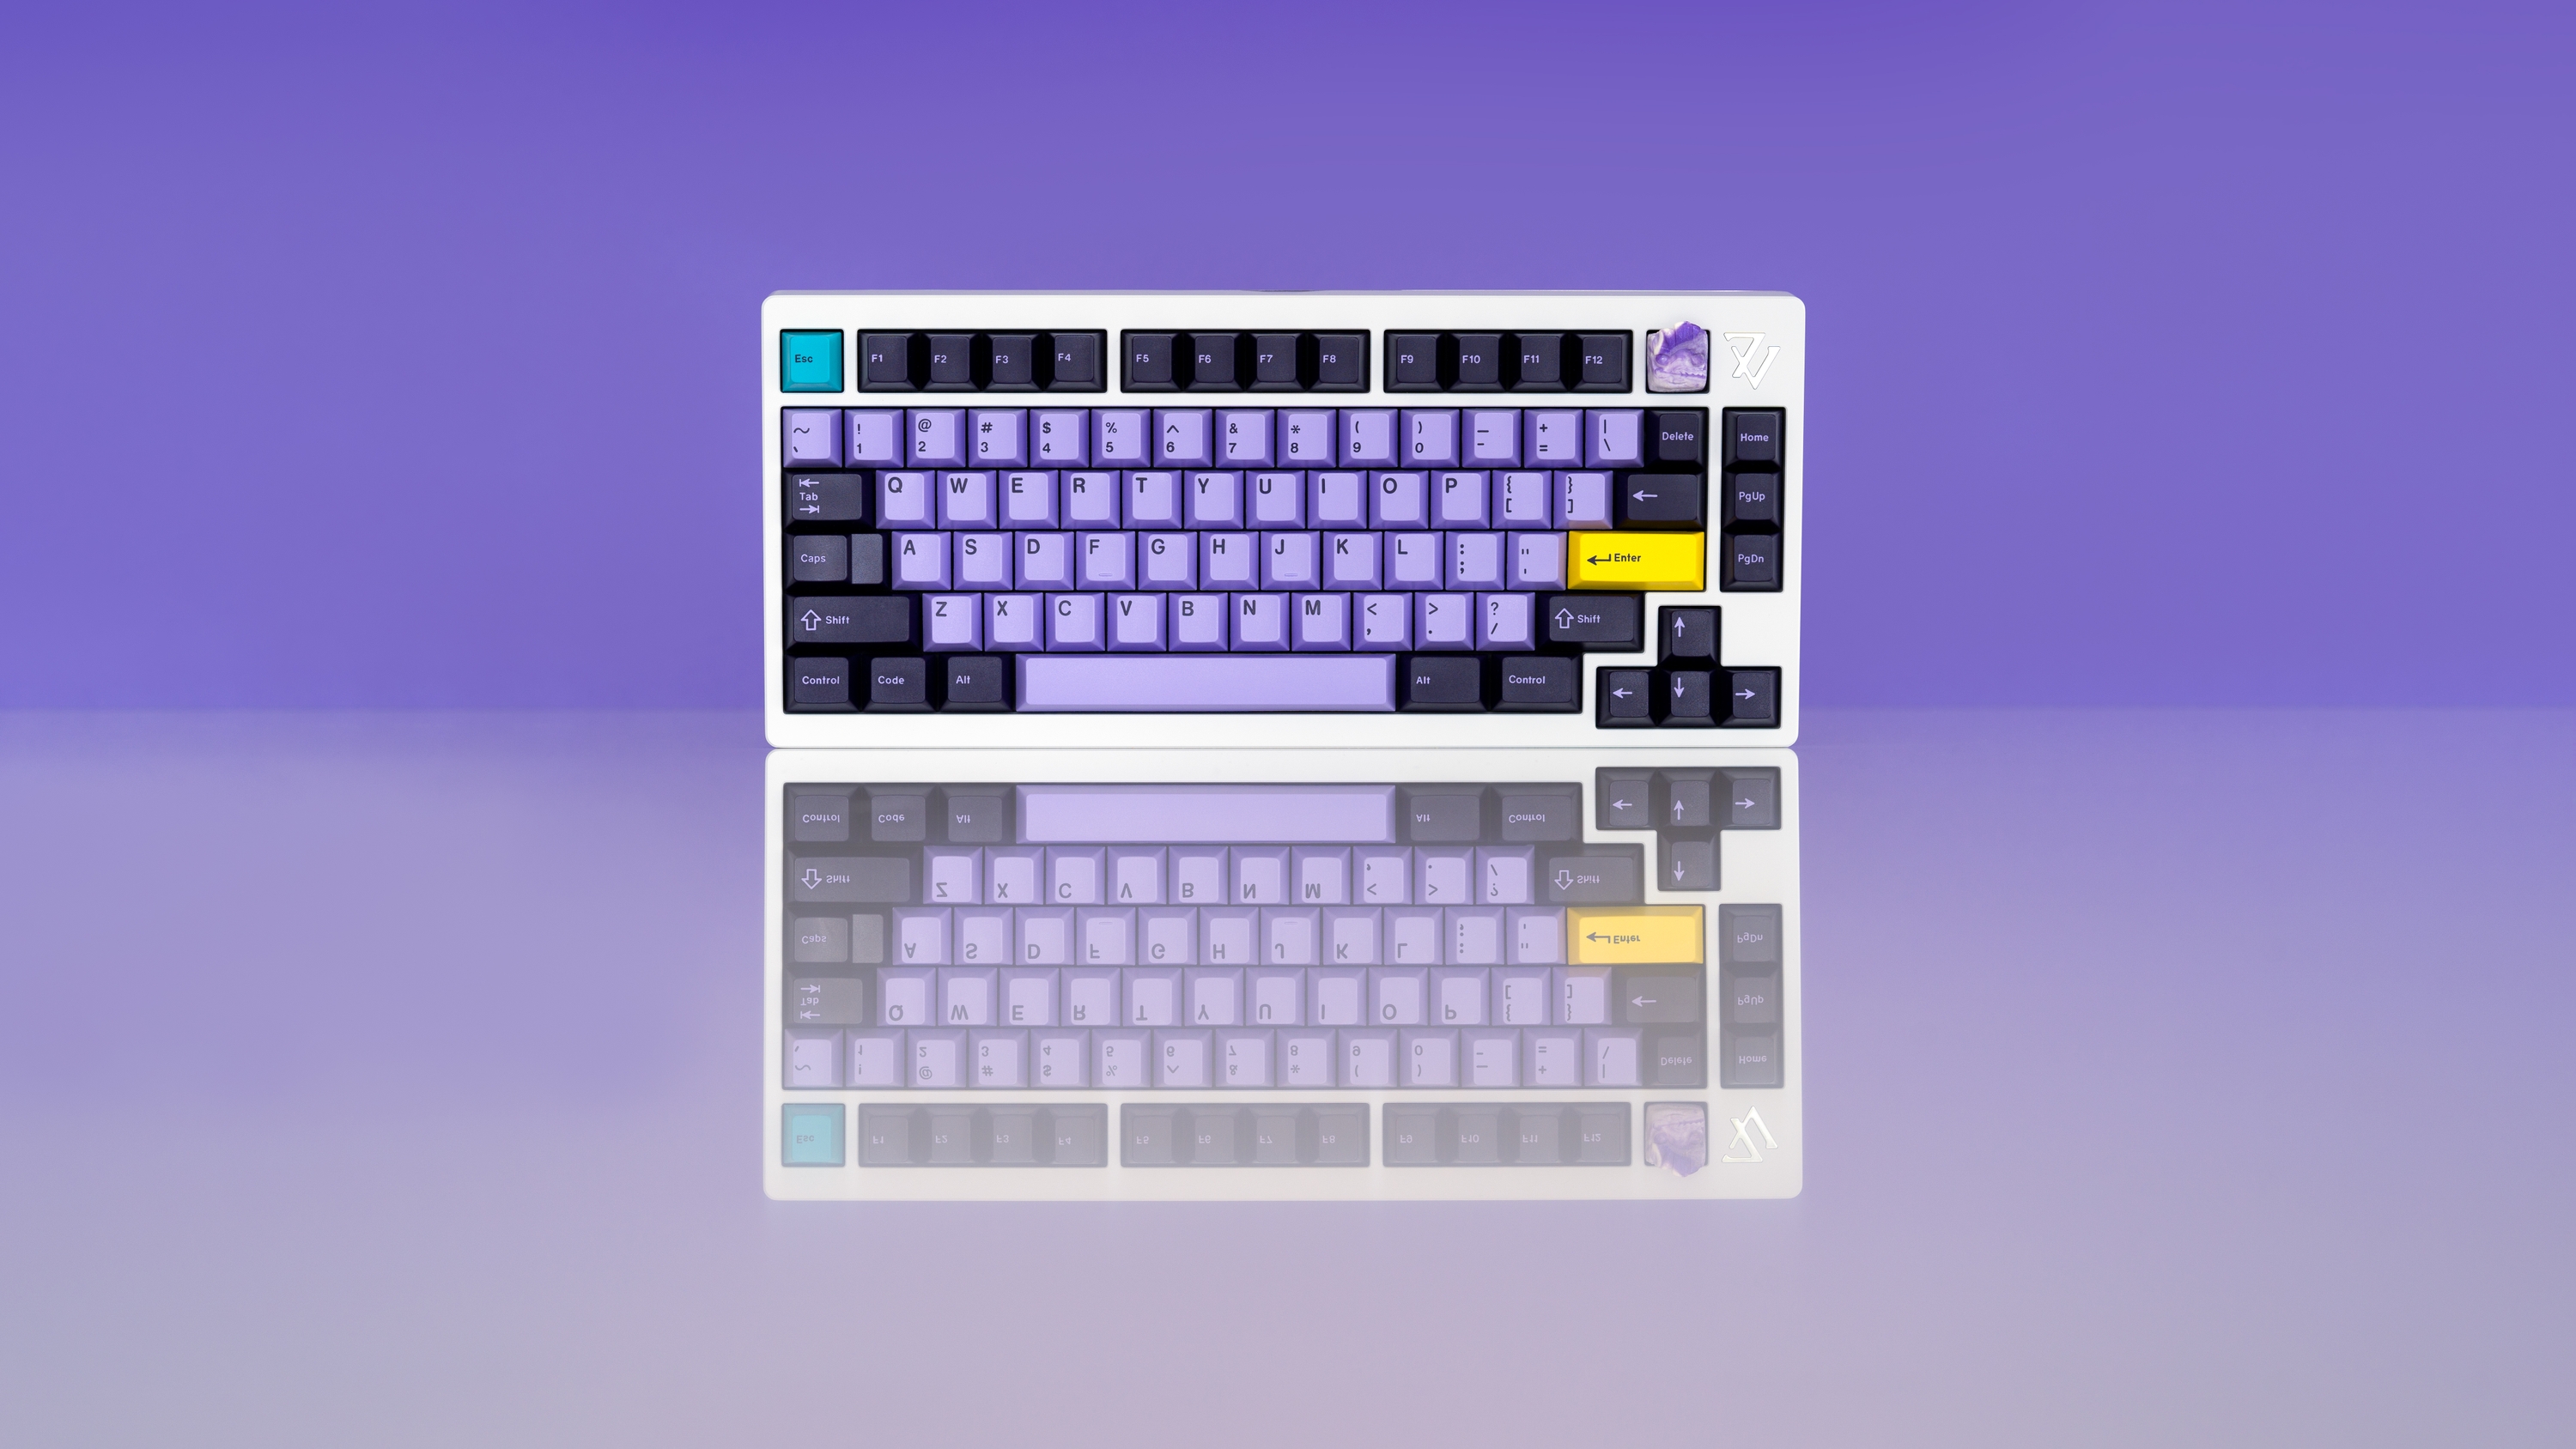
I find the single colour backgrounds allow the subject of the photo to shine.
Of course, there are other times where a more natural background is also effective but it is nice to have the option.
There are many purpose-made photography backgrounds around that simulate a large range of surfaces (wooden boards, concrete, marble etc). I've not used them yet but know a lot of food photographers and product photographers who love them.
There is really no limit to the number of things you can do to create a great background for your product photography.
I shoot quite a few of my shots on our kitchen bench (polished stone) to get reflection shots but you may not have access to something like that - so another option for these kinds of shots is perspex.
I managed to pick up some perspex offcuts on Facebook Marketplace last year for $10 a sheet - here's the resulting shot with that.
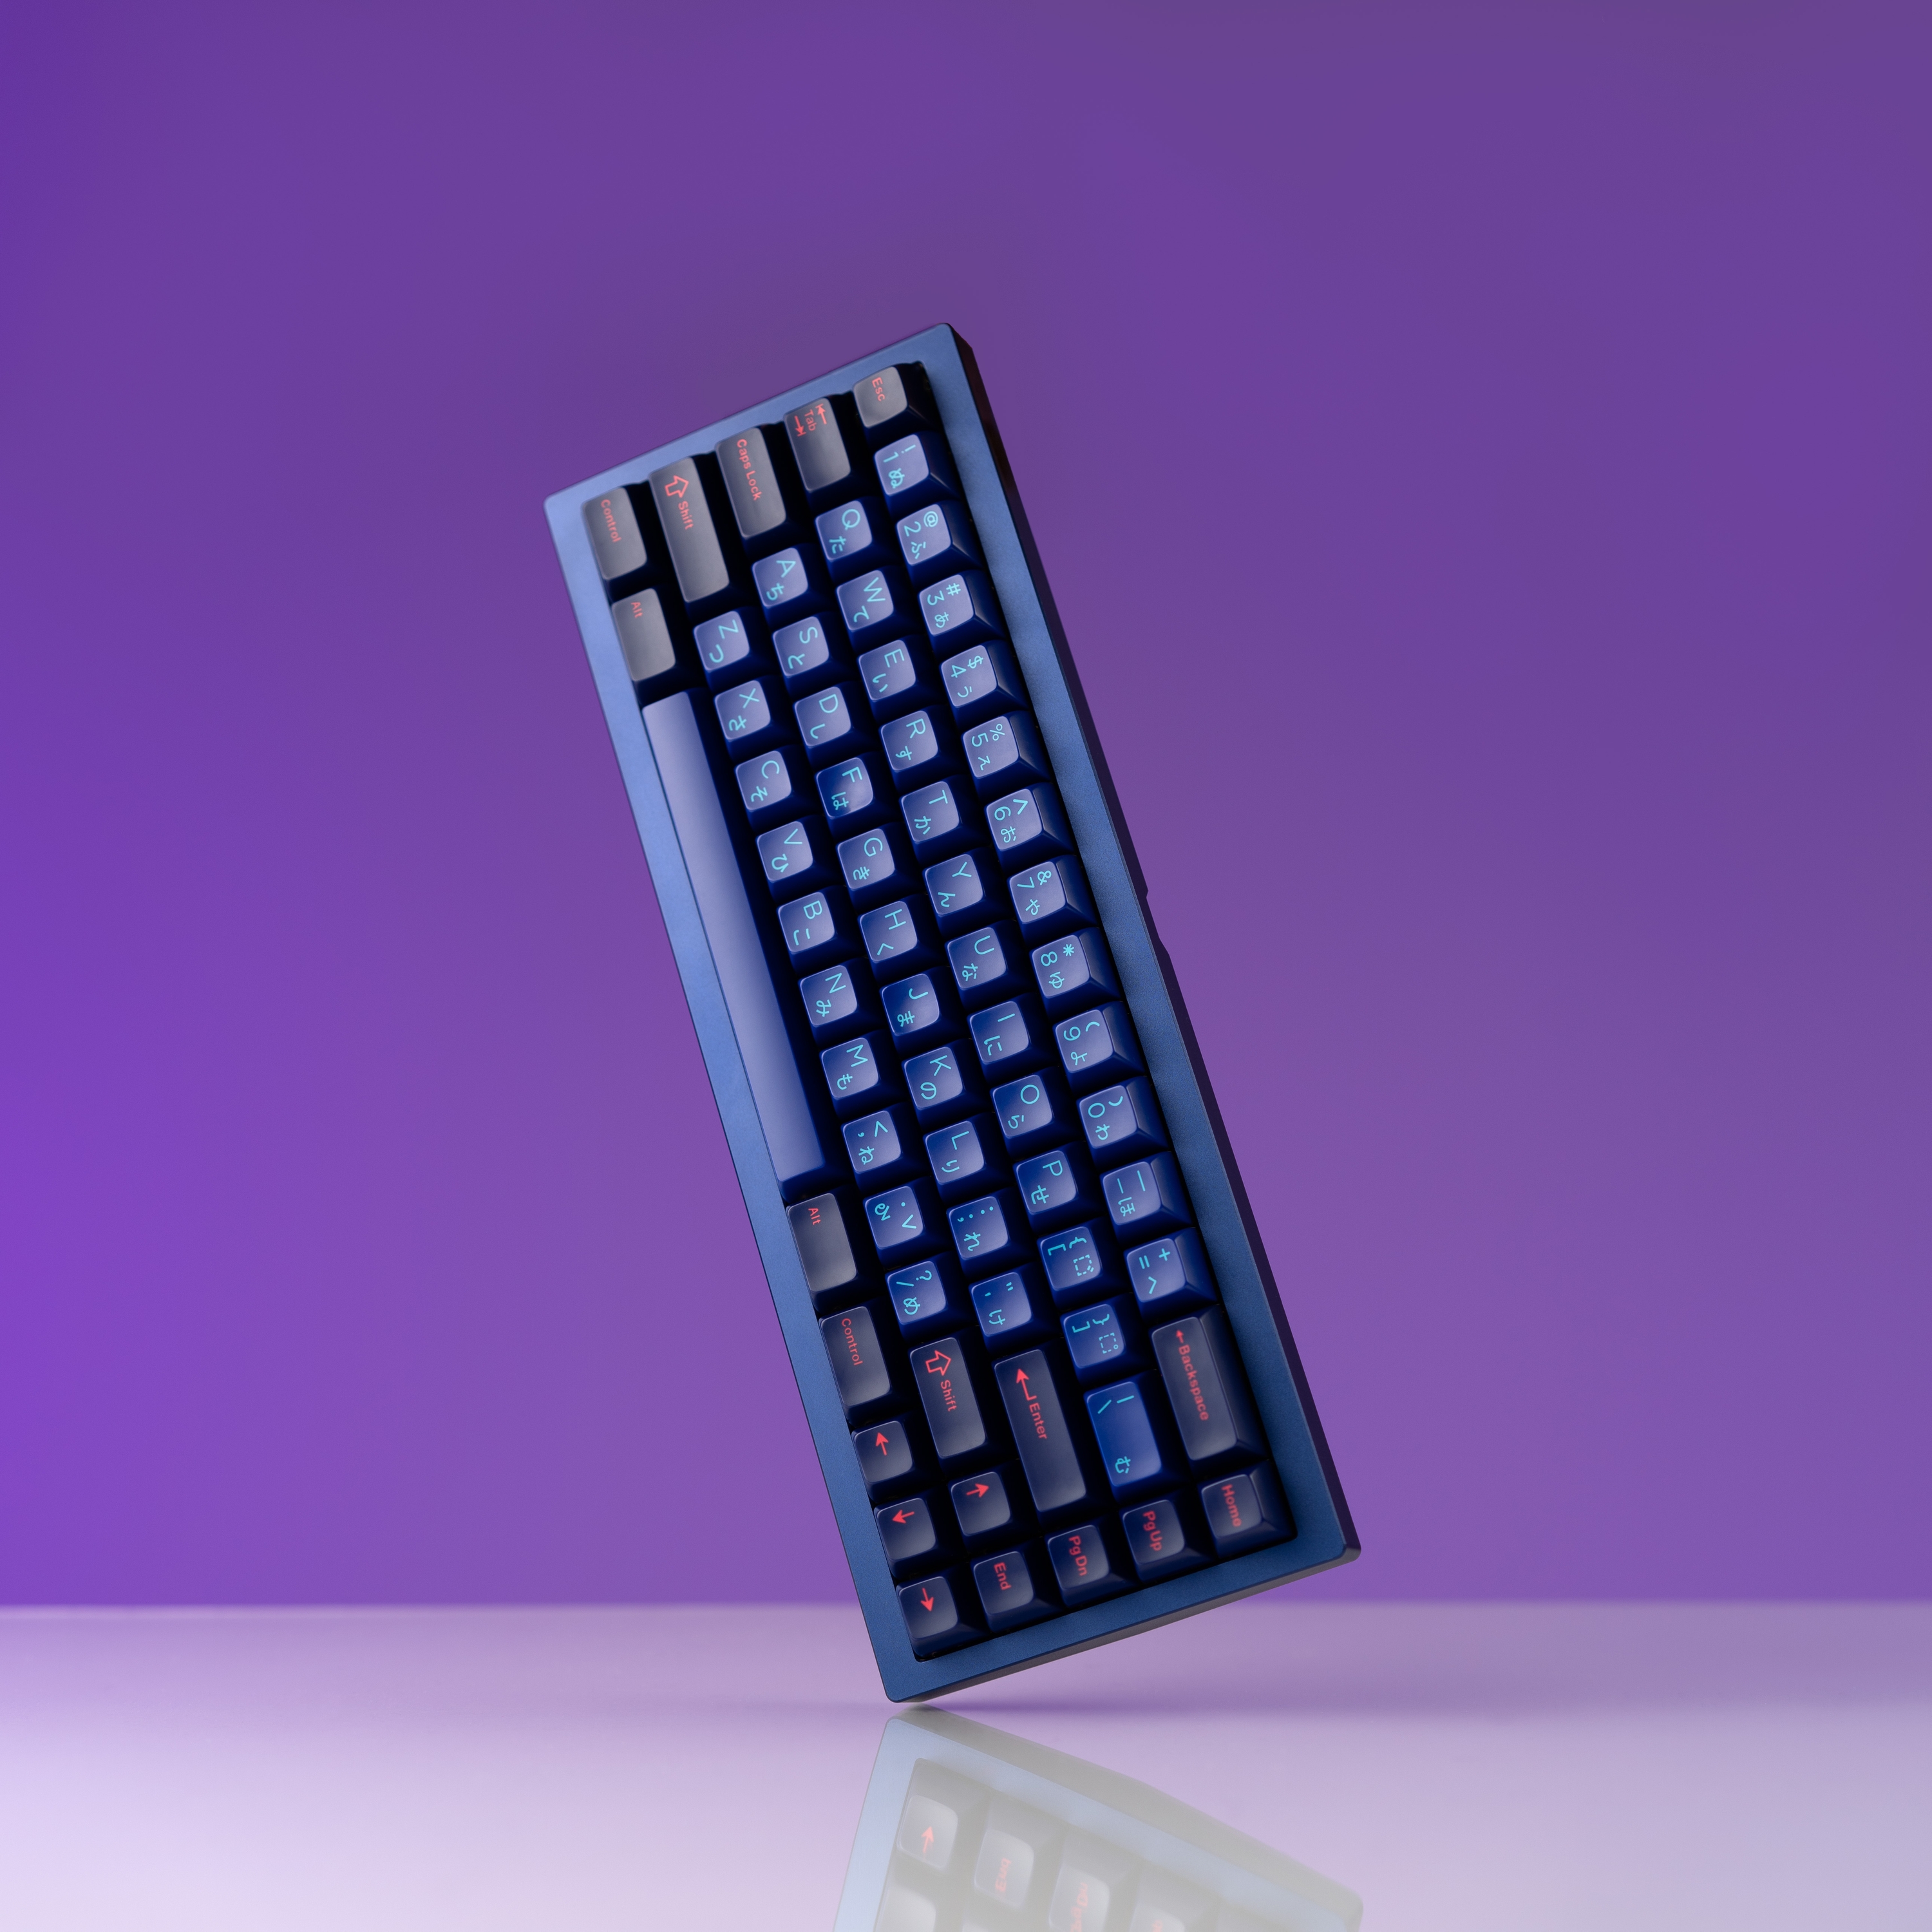
The perspex ends up scratching but for $10 it was a great little investment (note - if you put colored card under it you can make it appear any color your want).
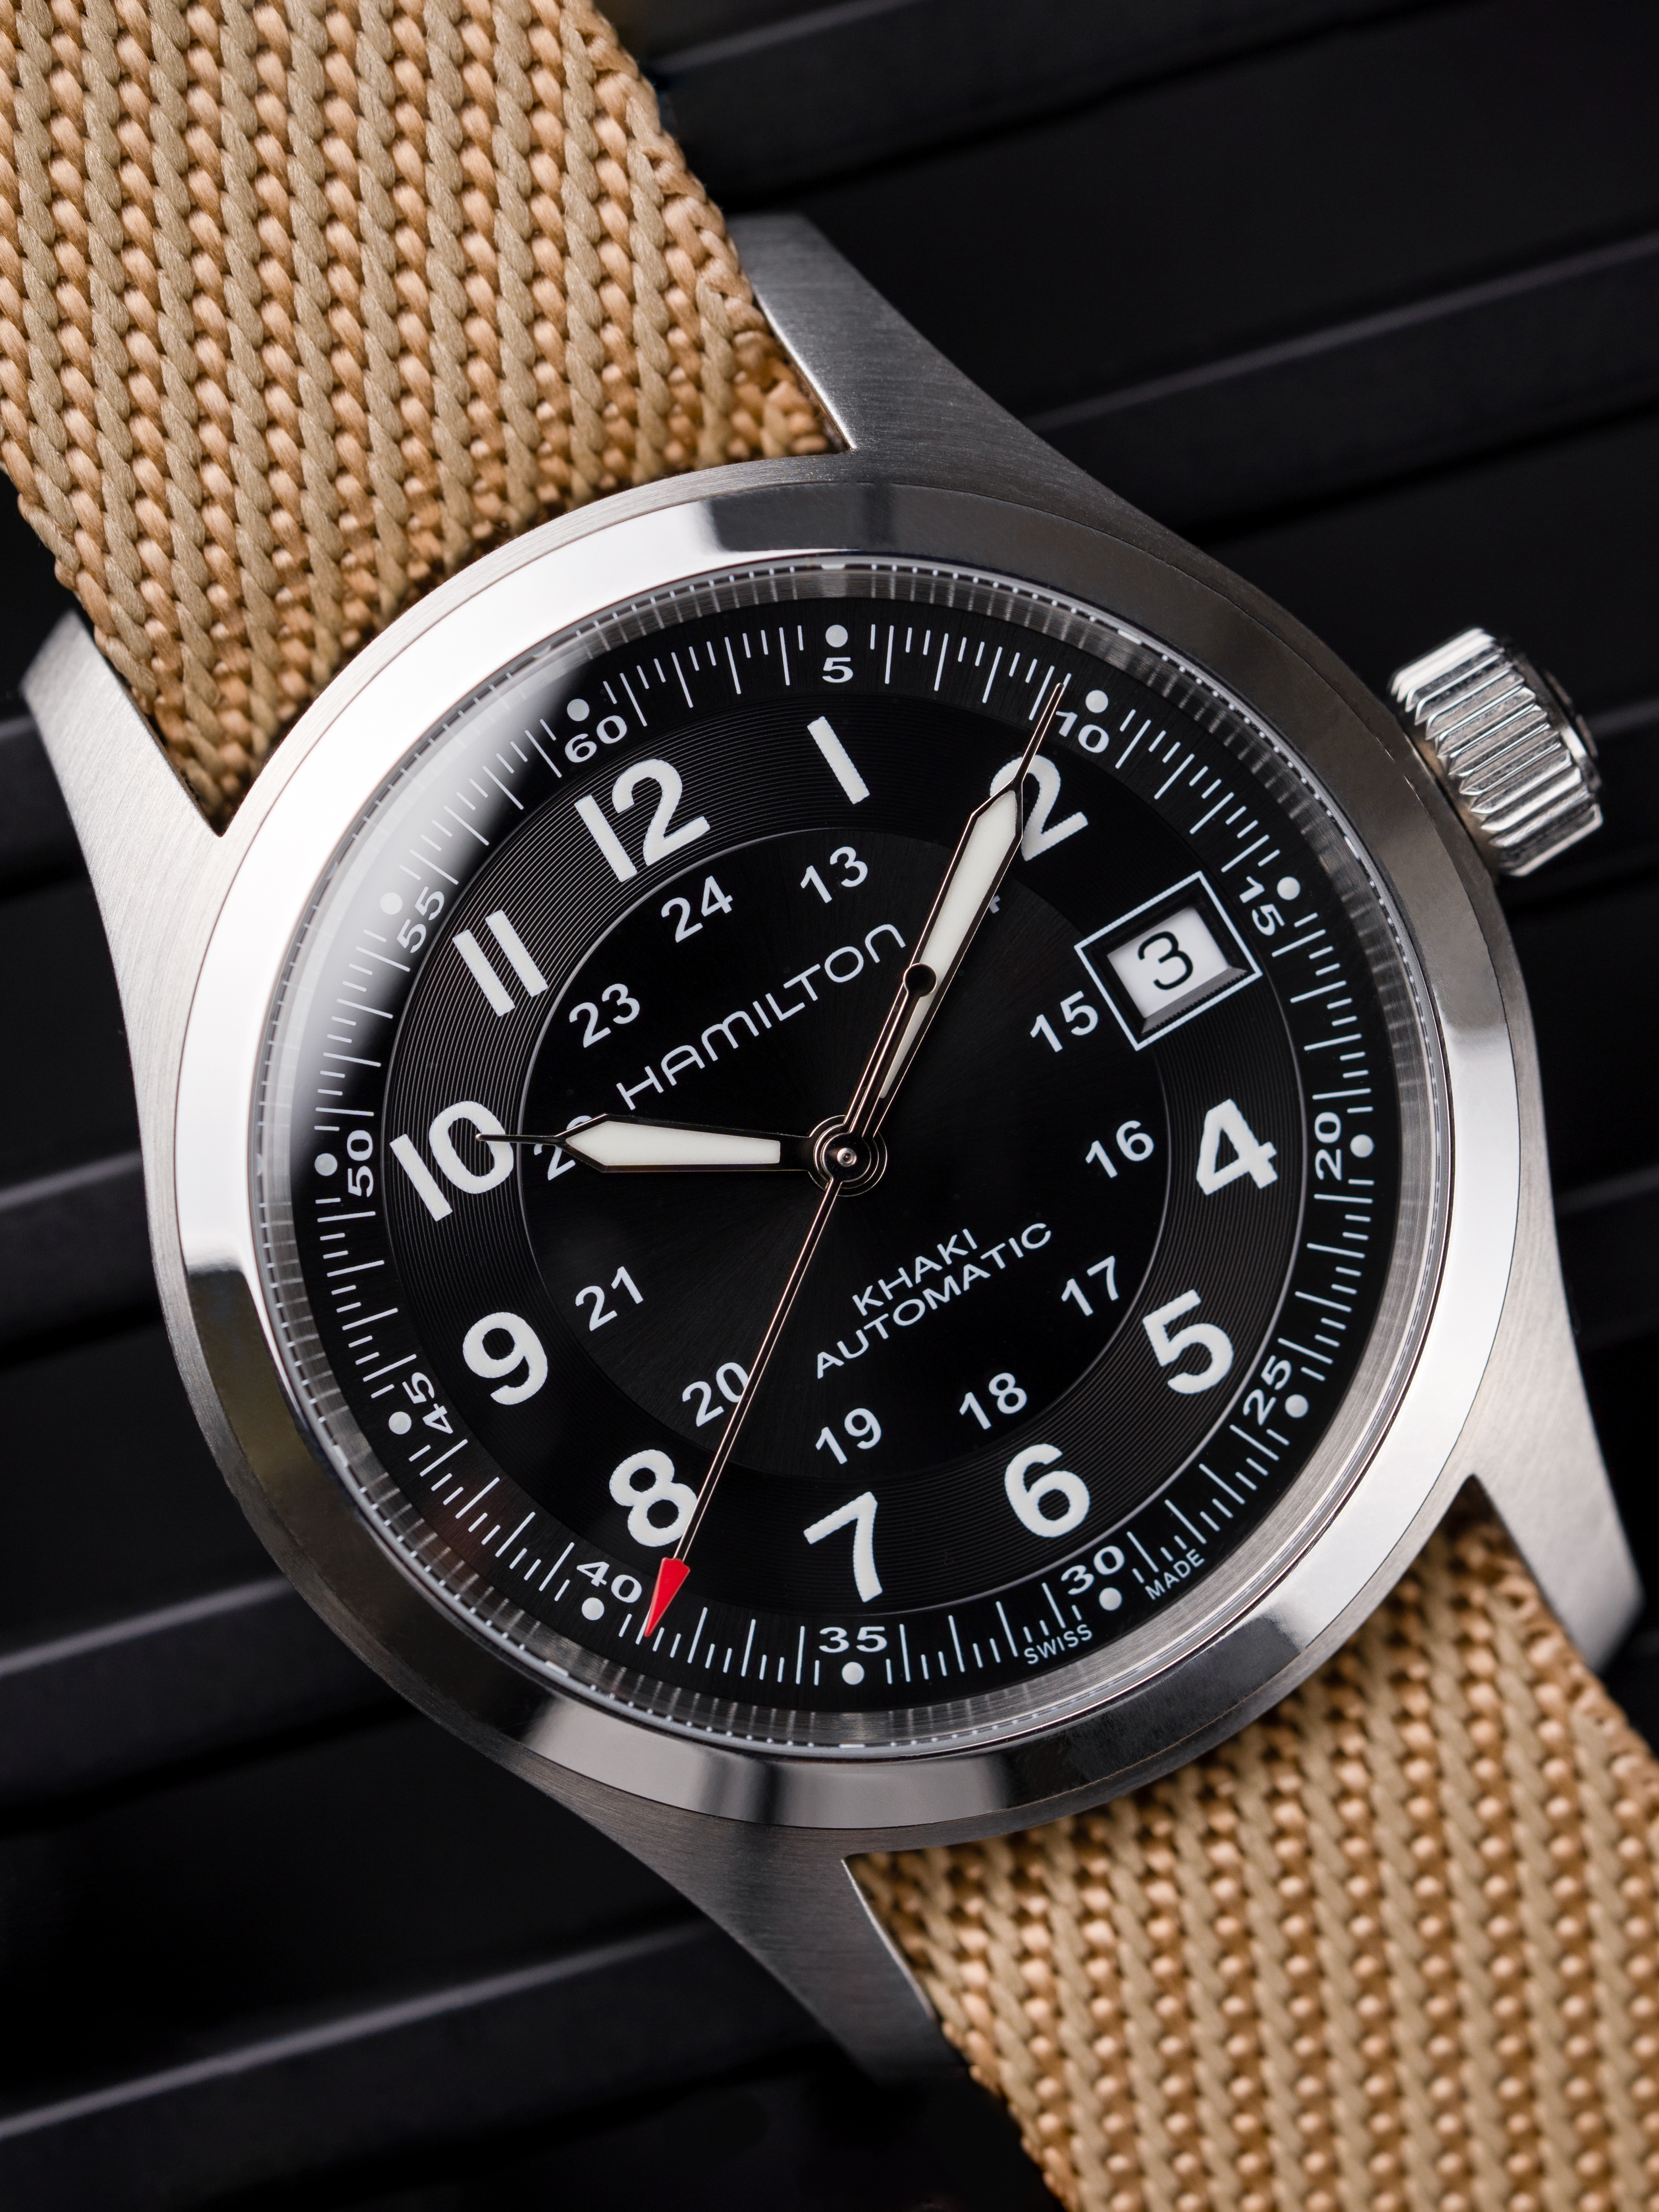
I've used wrapping paper, picnic rugs, kitchen chopping boards, old pieces of wood, tea towels, pieces of fabric, tiles and rugs. For example, in the image of the Hamilton watch pictured below I went to a hardware store and found a cheap grate meant to be used in a shower as the background!
I'm always on the lookout for interesting surfaces and backgrounds for my product photography!
Software
There's nothing too surprising here. I use Lightroom and Photoshop in tandem and at times also shoot tethered to Lightroom using Smart Shooter 4.
Disclaimer: This article contains affiliate links to Amazon. I make a very small commission on any sales generated but there is no additional cost to you.